I’ve been asked about how we keep everything watered. It’s not as easy as it sounds with everything spread out and only a single water source available but I’ve been working/adjusting/tweaking this for over a year now and is getting just about ideal for us now.
As Sherry knows, I am pretty anal when it comes to this and am not a fan of constantly hooking/unhooking/untangling hoses and dragging them around. Added to that is the absolutely terrible quality of most products sold for this purpose. I’ve rarely ever had a nozzle, sprinkler, hose or any other component of these last more than 2 years so my goal was to eliminate their incompetence by doing as much on my own as possible.
Everything (in pots/tubs) on the porch is watered by hand using rainwater collected in tubs below the downspouts so no big deal but for everything else, we needed closer sources to get the water.
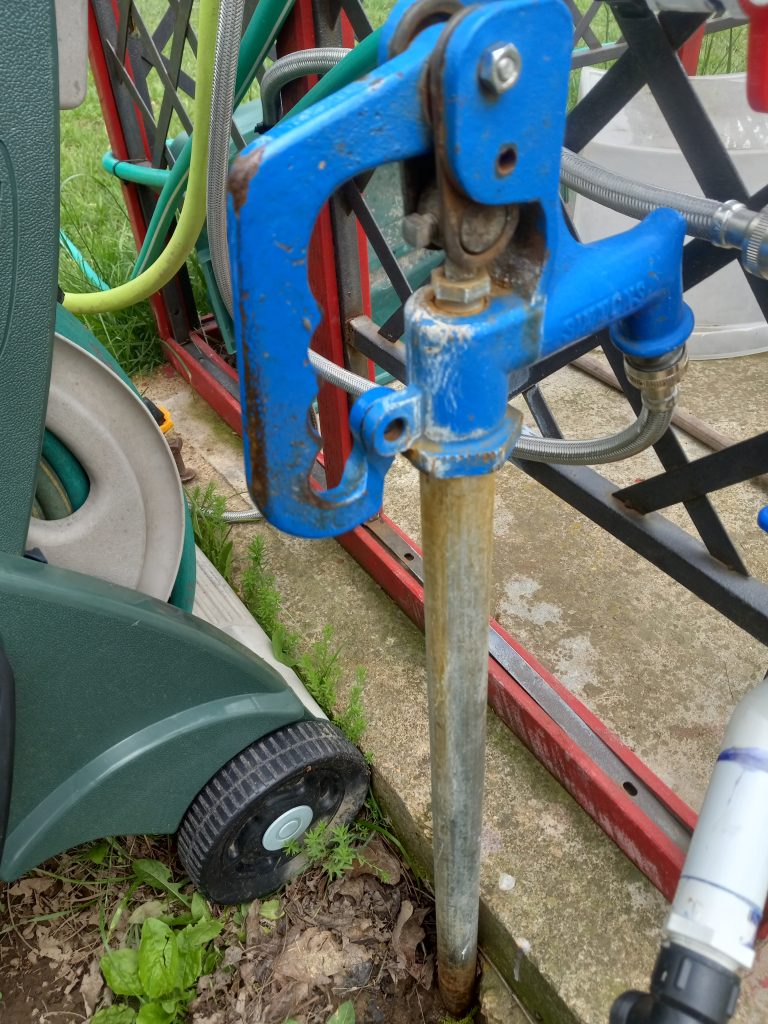
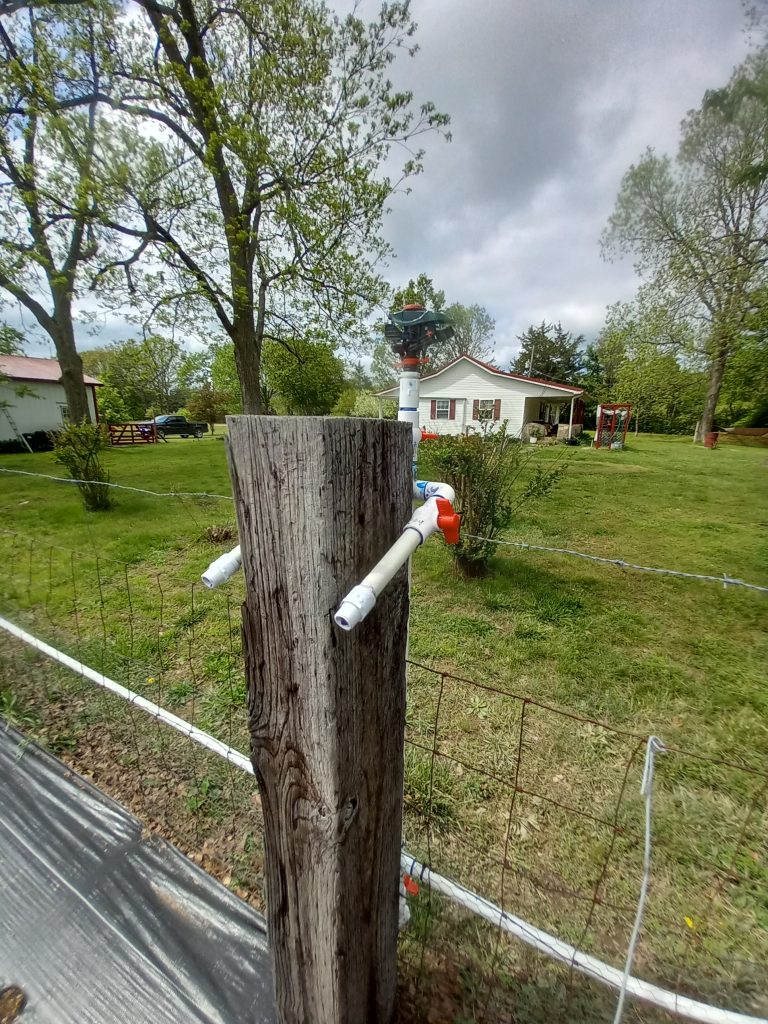
The problem is, THIS is our only source for water outside of the house. This freeze-proof spigot is located by the old well head just off the back porch.
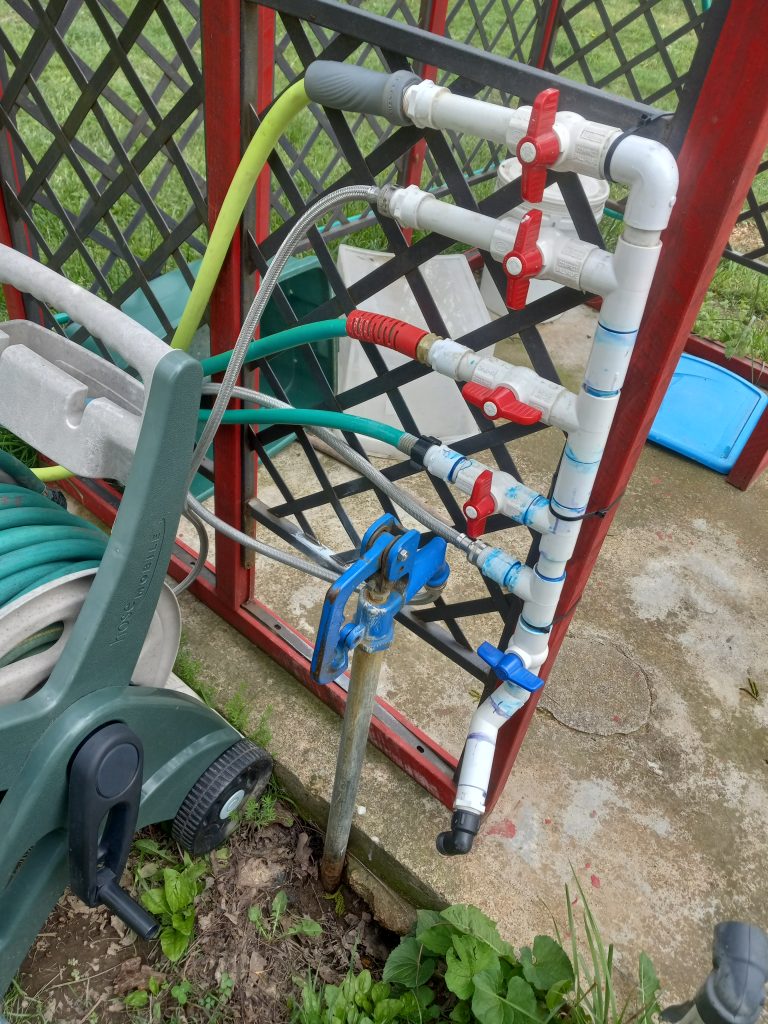
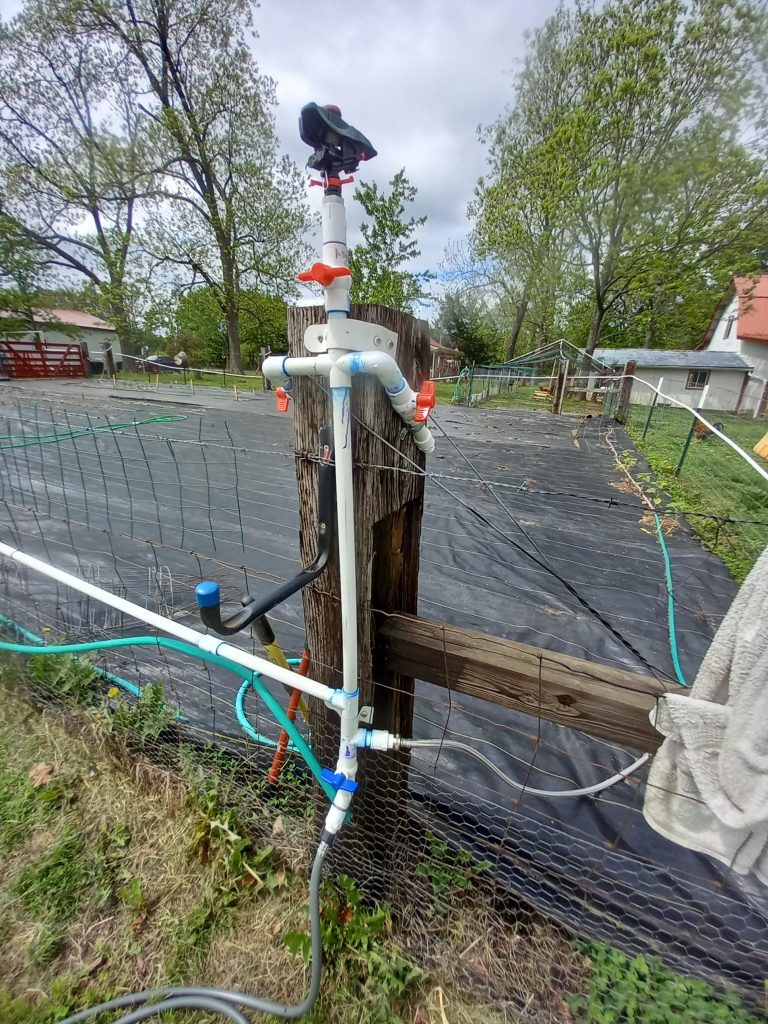
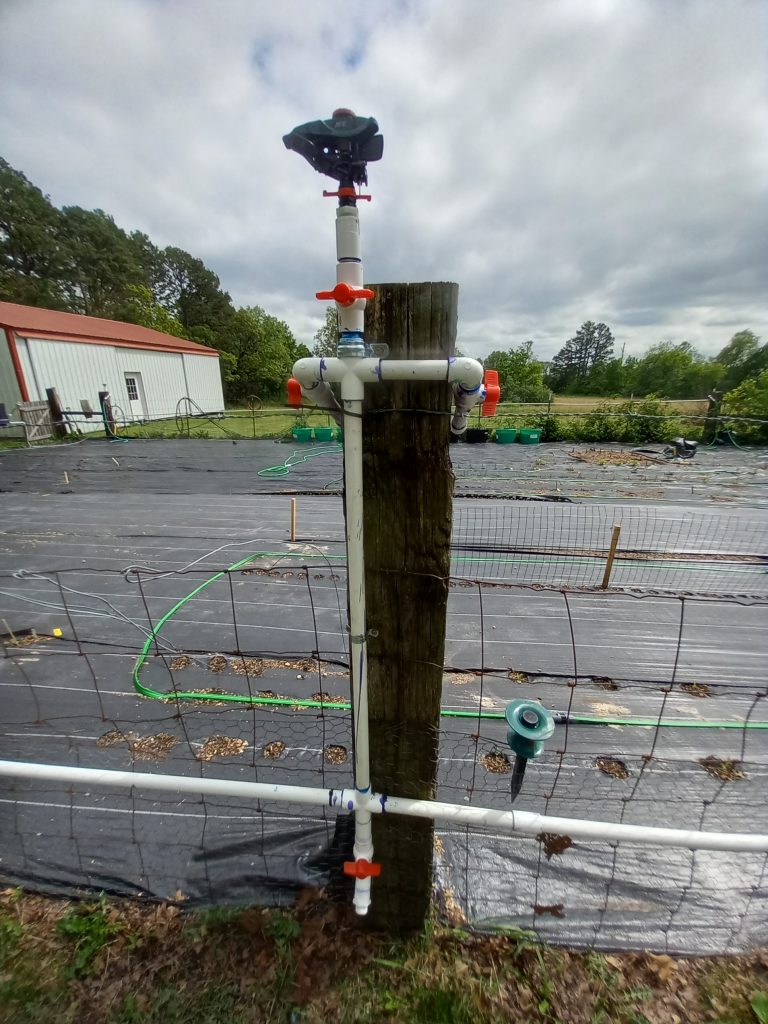
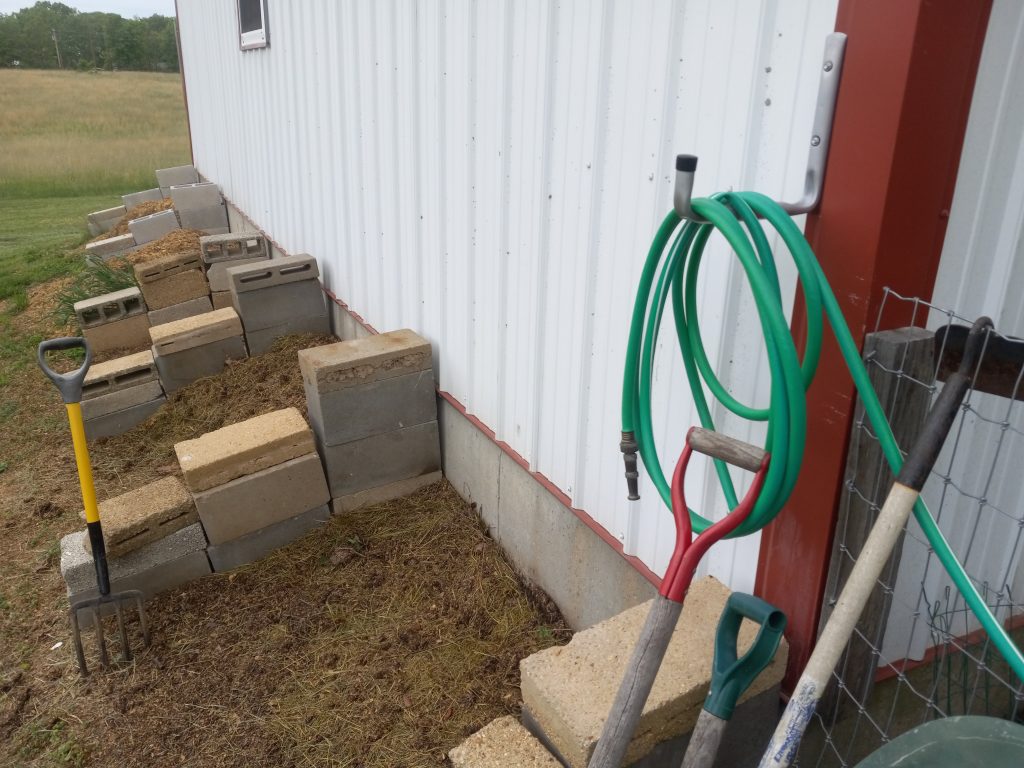
So, immediately I split this single hook up to 5 new ones using PVC valves and 3/4″ piping.
The blue valve at the bottom is used for filling buckets but doubles as a “drain” of that valve system when the water is shut off. Moving up from that valve, the next connection on the left is where the water comes from the source and enters the system. Up from there is a hose running to the outdoor shower (that this is mounted to). The next one up (turned on) is the hose that feeds the line that covers the garden as well as other locations. Up from there is the hose reel (pictured) and the top valve controls a simple 10′ hose and nozzle that hangs on the shower for general use.
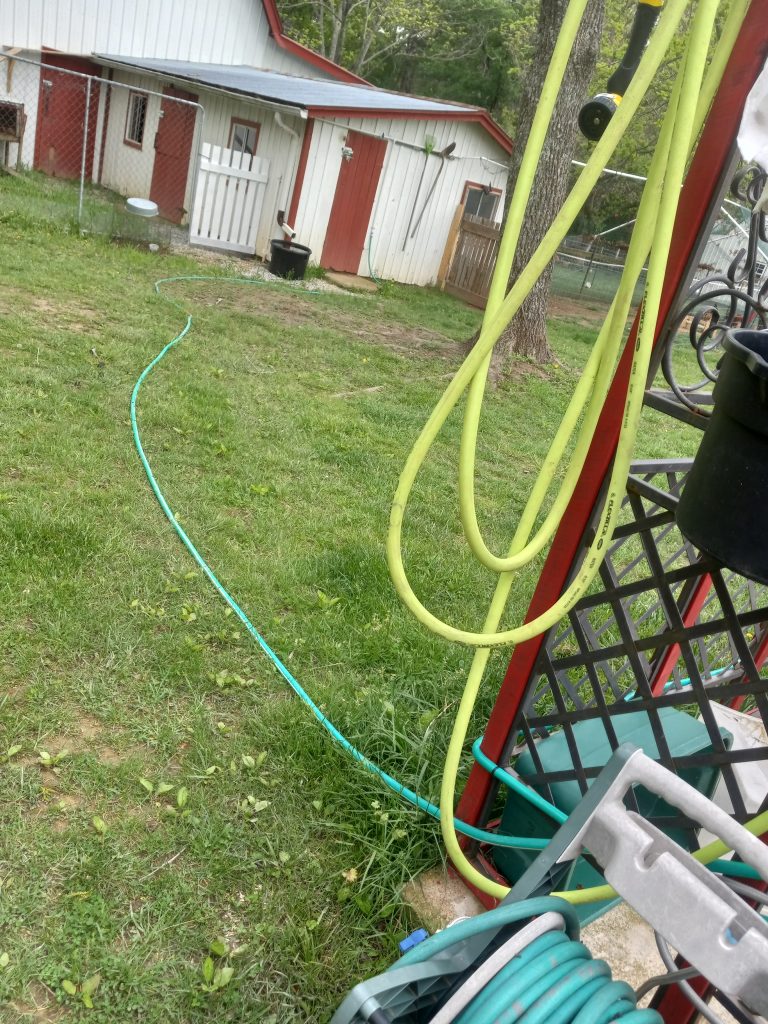
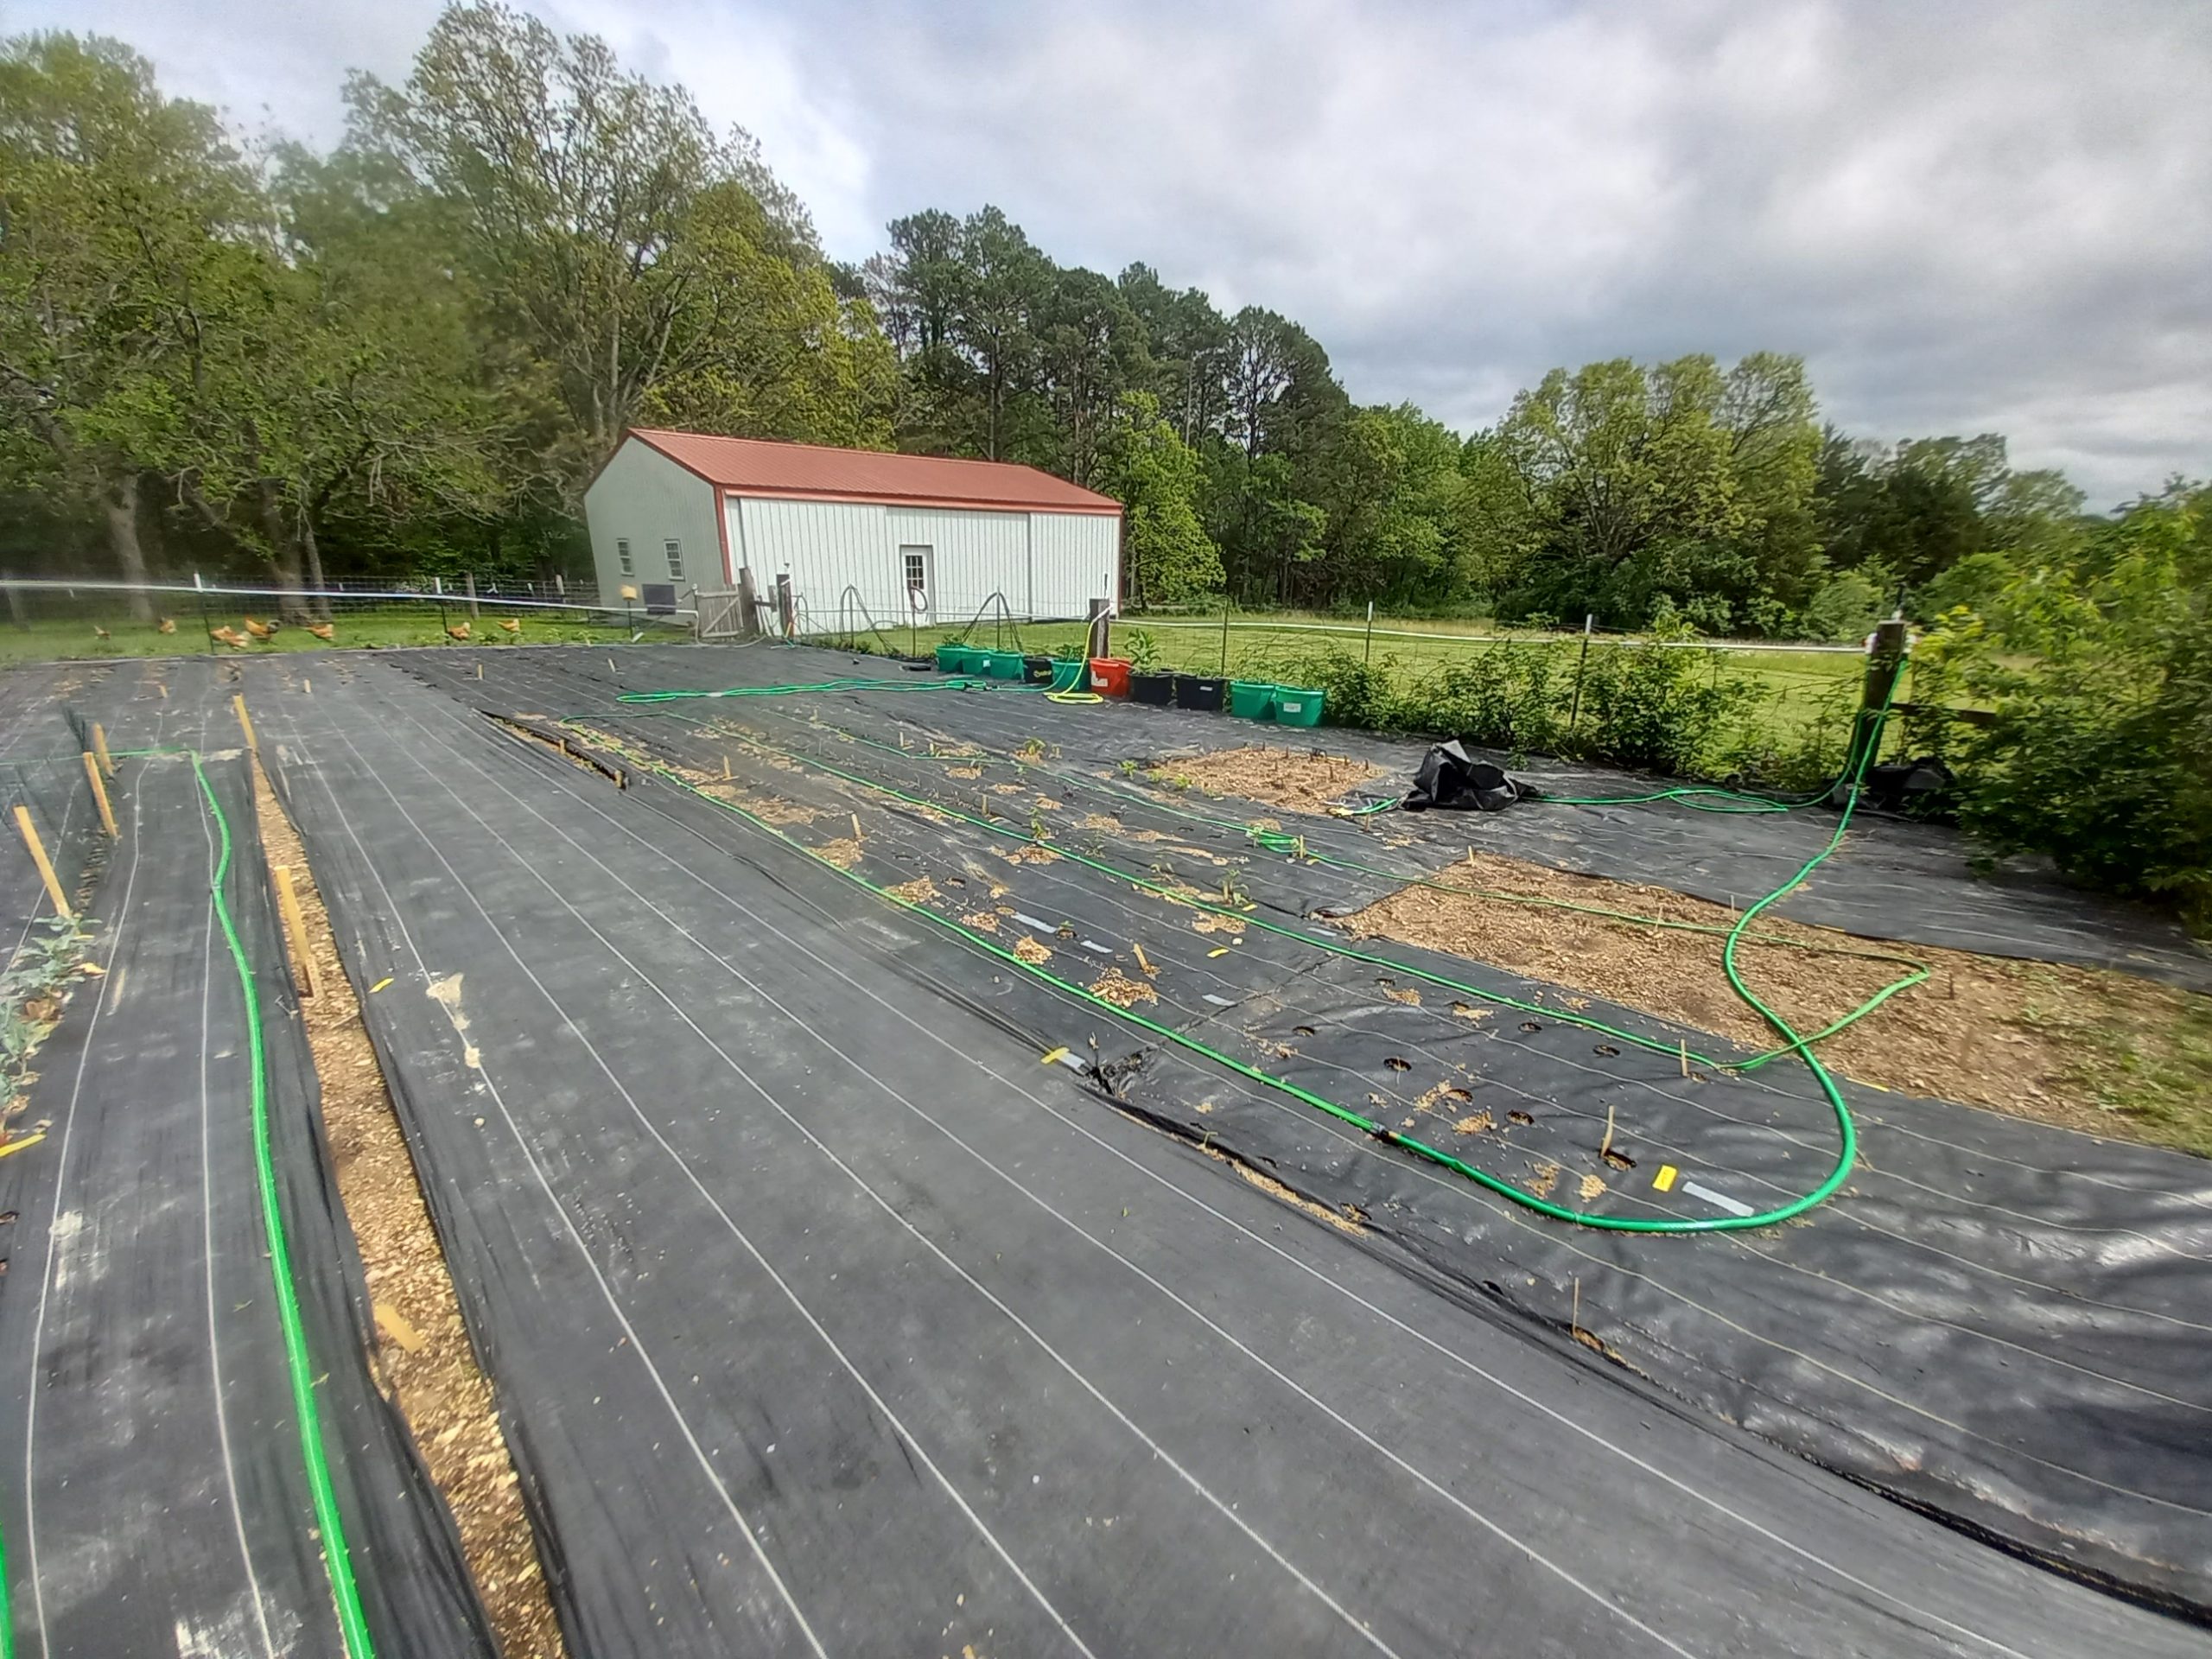
The line that covers the garden and other places runs on the ground over to the front of the chicken coop. As of now, it is a simple garden hose but will eventually be “piped” when I complete a mud free walkway back there.
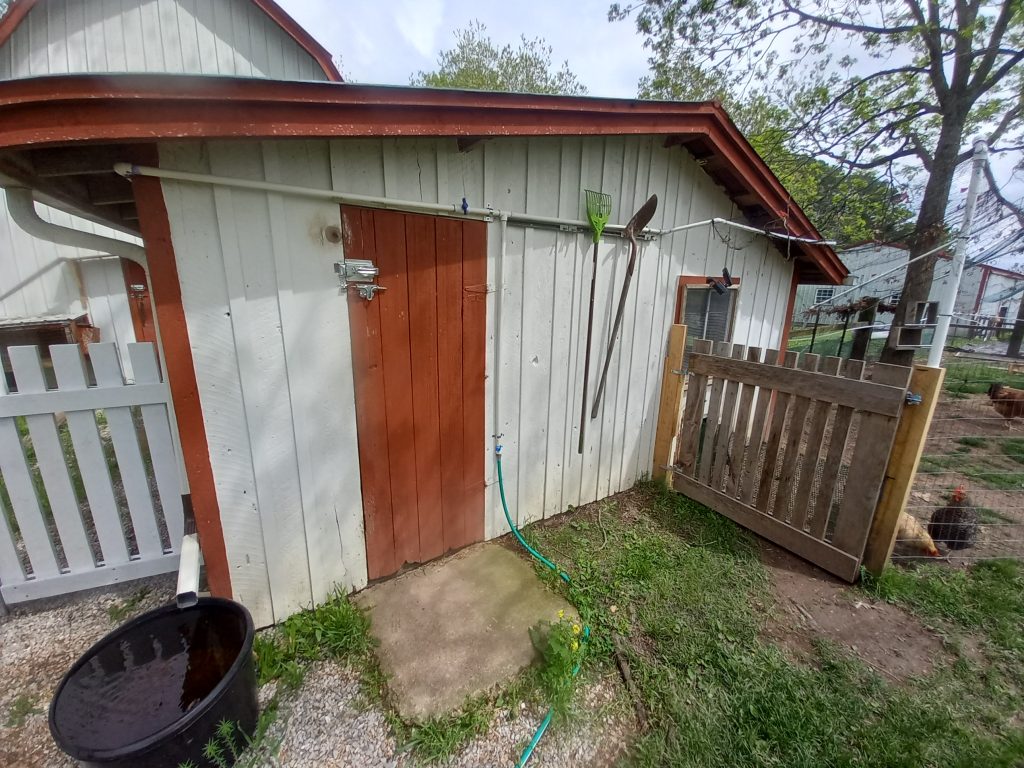
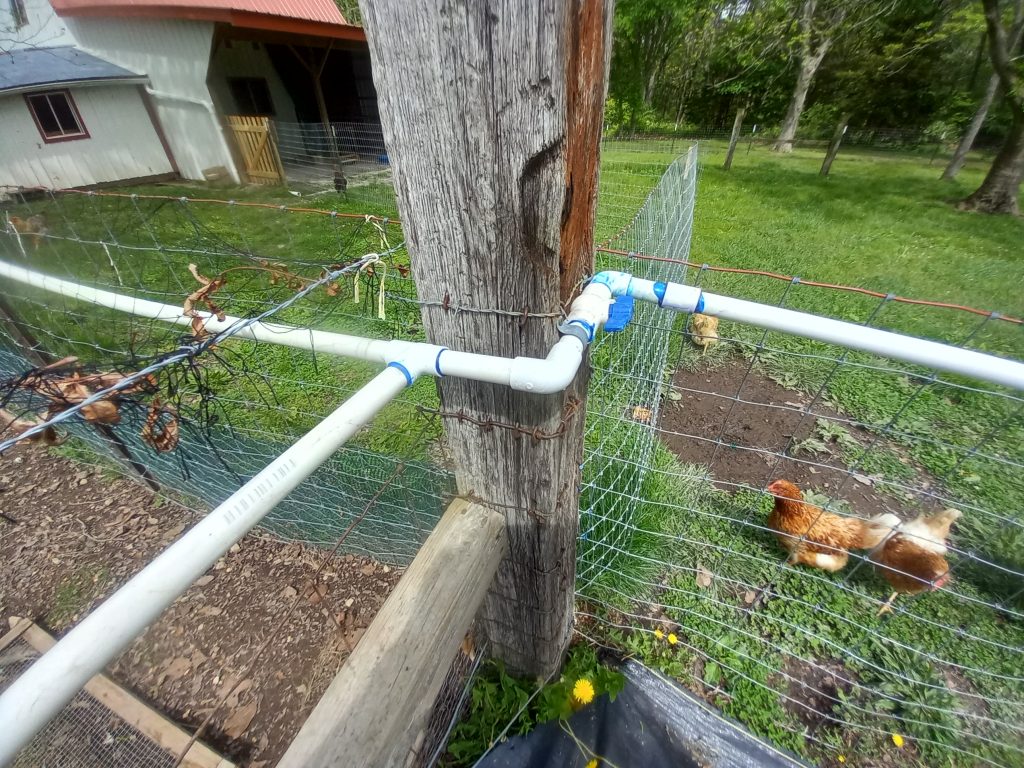
Once there, it screws into a PVC fitting and traverses up to the top of the door where a “T” connection sends a line to the left for inside the barn, as well as another that runs to our camper stored under the lean to. The other line (to the right) continues towards the garden.
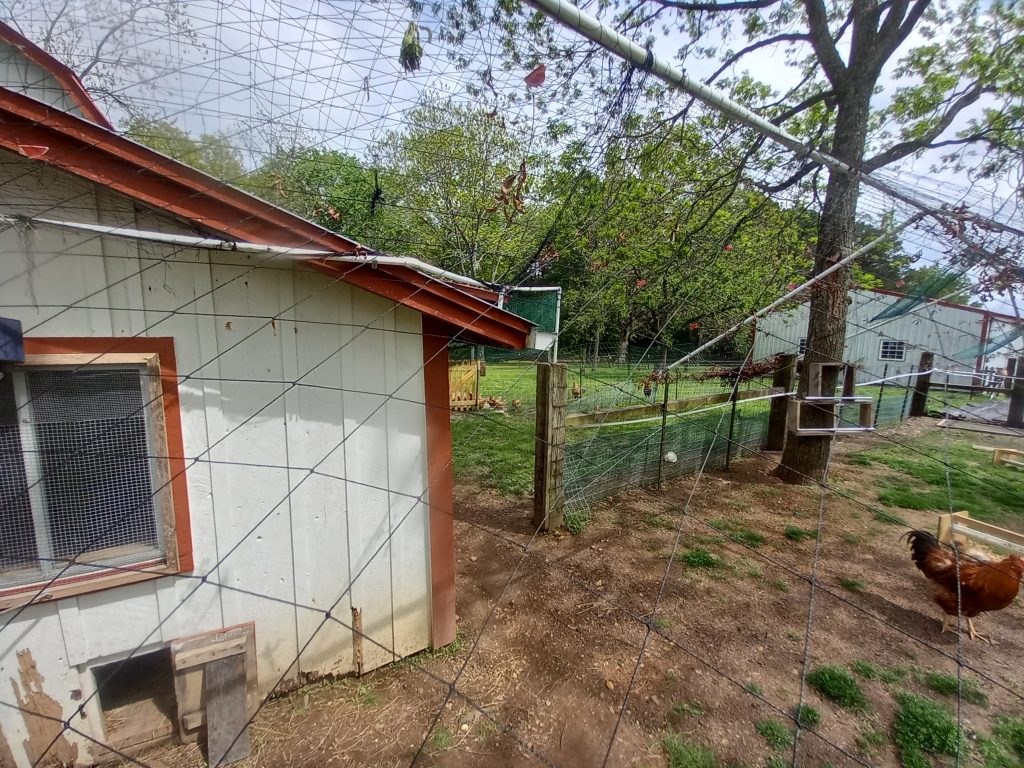
The line is up so high because of the gate between the chicken runs. I’m not crazy about this arrangement and may move it to the ground but I’ll wait for it to break and force me to. Actually, this section between the runs will all be redone but works ok for this season.
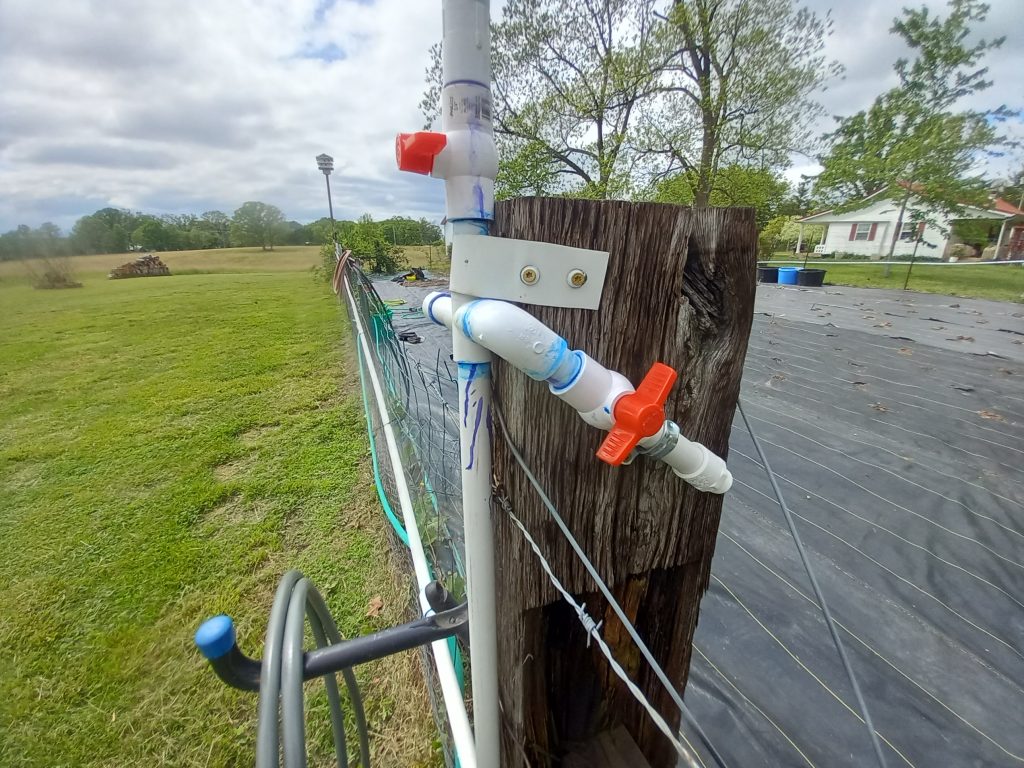
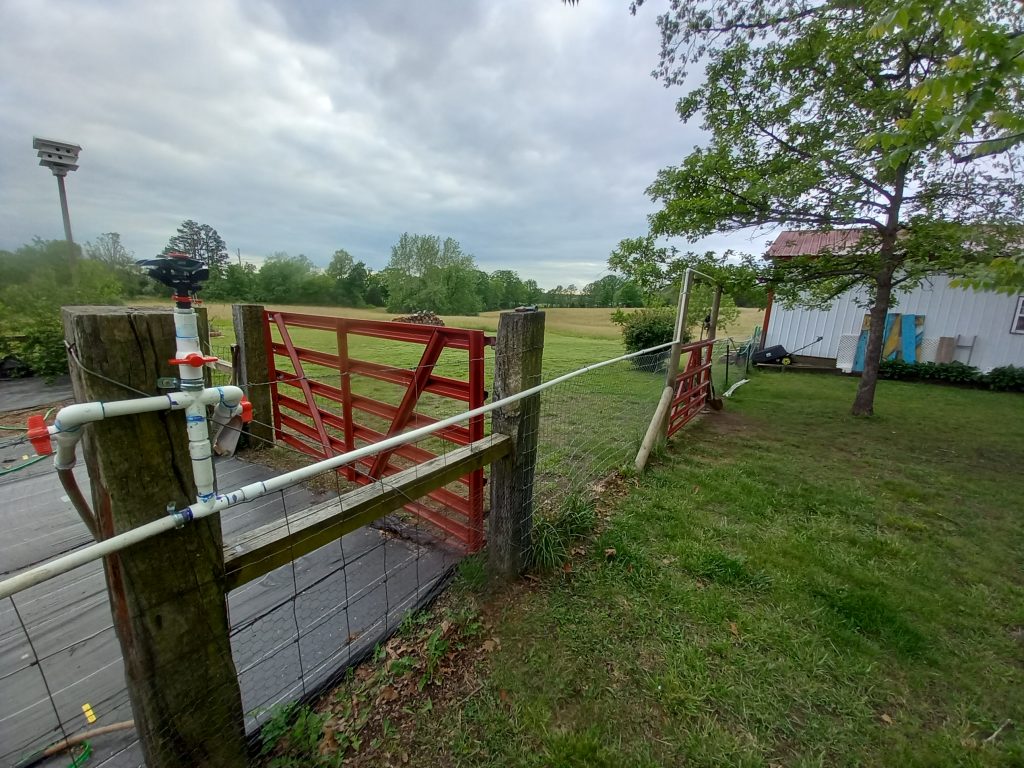
On that first post by the gate is the first faucet available. This spigot previously drained the whole system but I had to change that behavior when I added the additional footage circling the garden as it is just too much distance overall to get the slope exactly right for that distance.
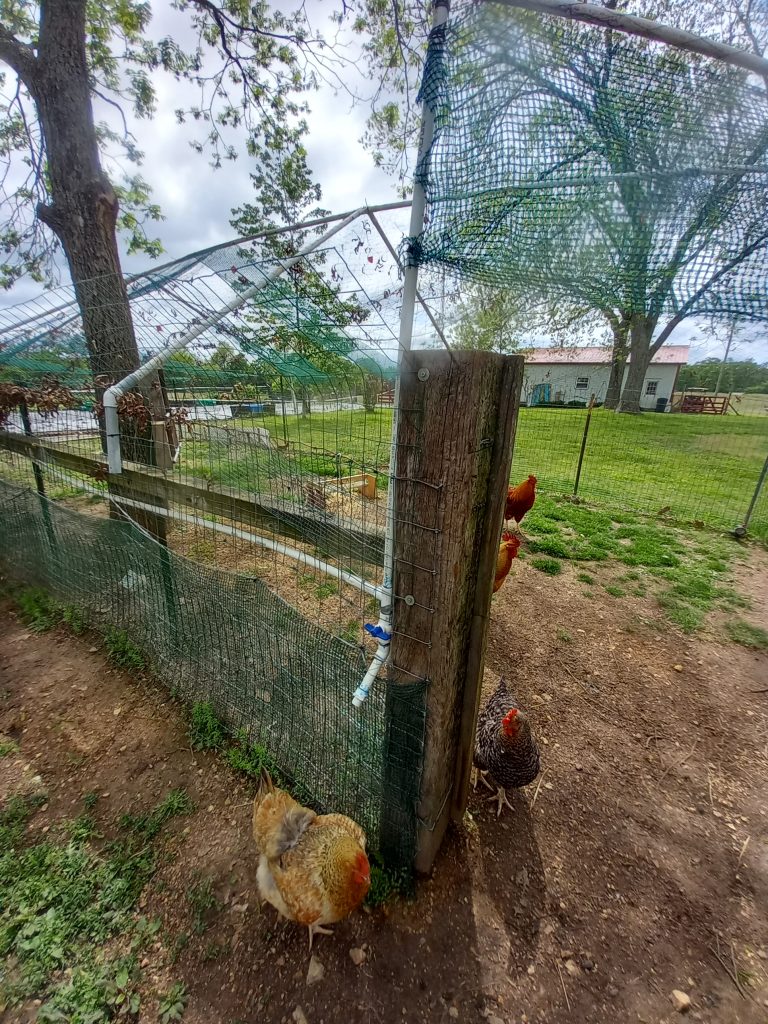
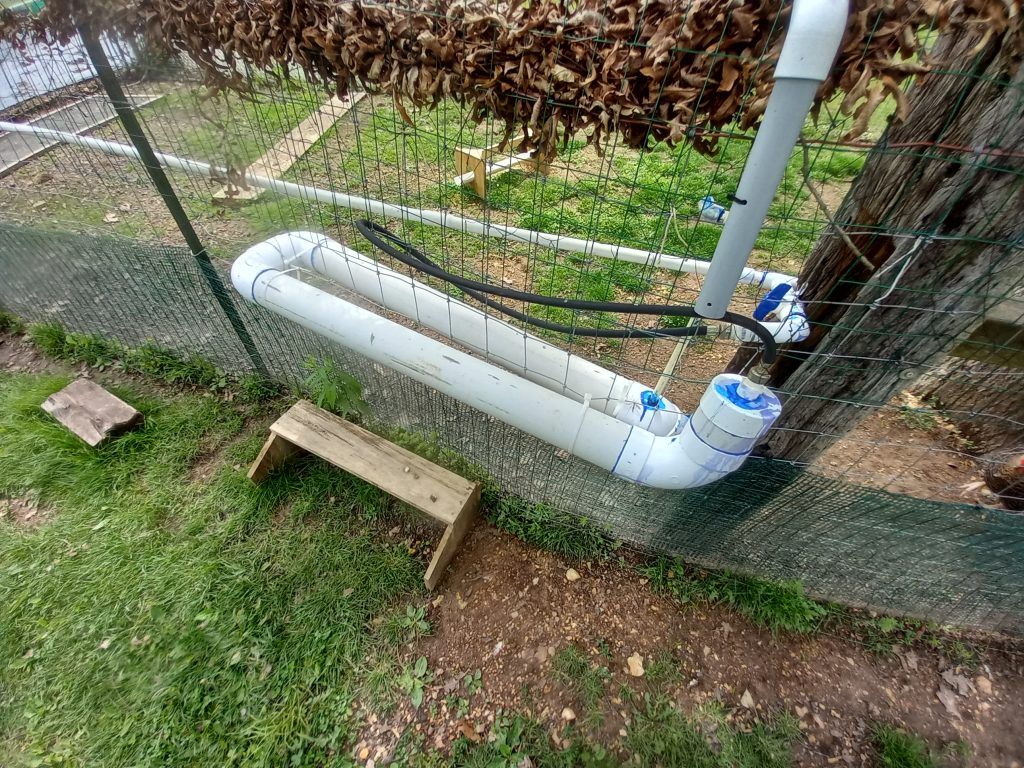
The next post down the run also has a spigot, which is connected to the birds 2-sided waterer. It takes about 15 seconds to refill by turning the valve. The older girls get their water via nipples on the bottom of the larger PVC section. The newer girls on this side are smaller so I built them a bench to reach the nipples.
Finally reaching the NE corner of the garden. Here is another “T” with one side continuing straight south towards the shop and then turning along the south side and the other turning westward along the north side of the garden.

At the shop, there is another access gate so I dropped the line to the ground and used “water supply” hoses (typically used to hook up your washing machine or dishwasher) to hook up the south side line. There is an extra splitter valve there on the ground that will drain this “bridging” line when needed. The green hose going left is watering the sunflowers at the back of the garden.
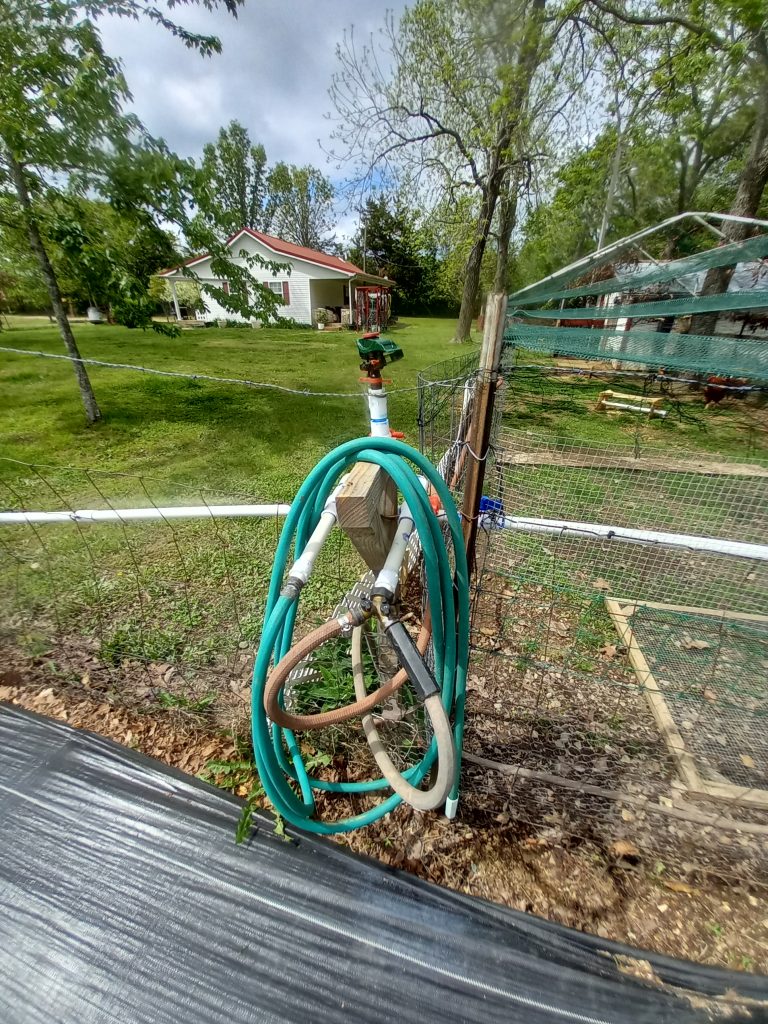
And here (going west on the south side) is the first of 6 “stations” surrounding the garden. The blue valve at the bottom drains the PVC (for freezes) but has a simple 10′ hose and nozzle for general use at the shop (where we do all of the seeding and planting preparations).
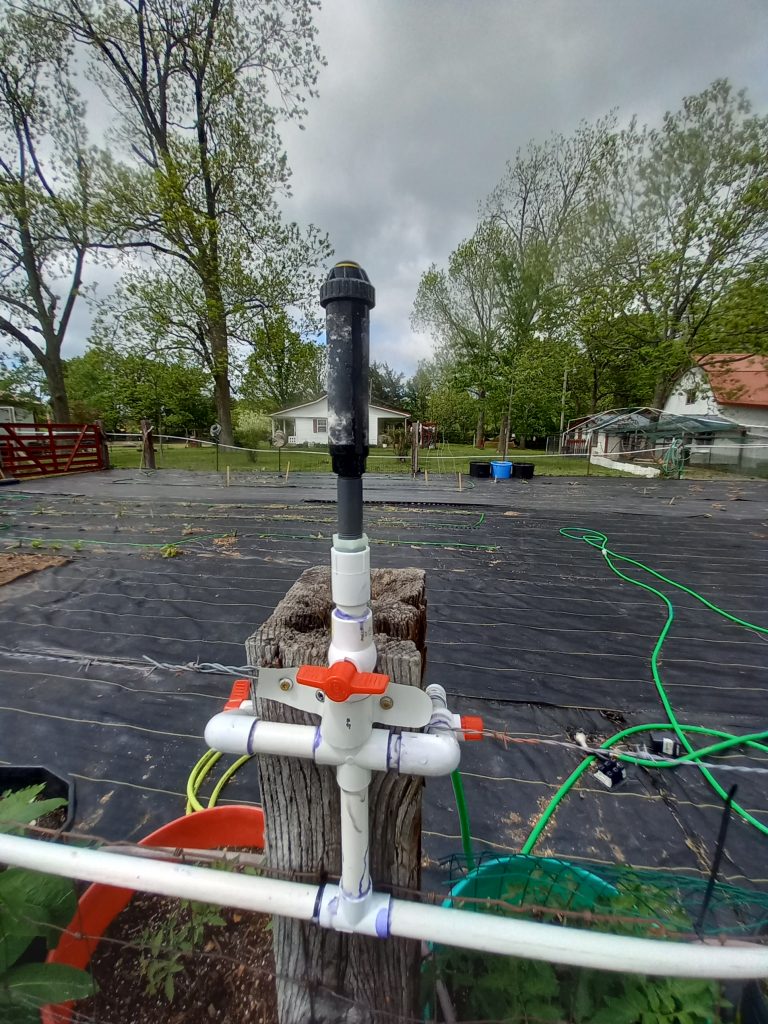
Each of the 6 stations in the garden contains a single sprinkler head that covers that section as well as 2 additional spigots for hoses and drip lines. I might have screwed this up by slanting these downward because a little water could still be trapped above the valves after the lines are drained. I may revise next year.
Moving westward, this is the station at the middle of the garden.
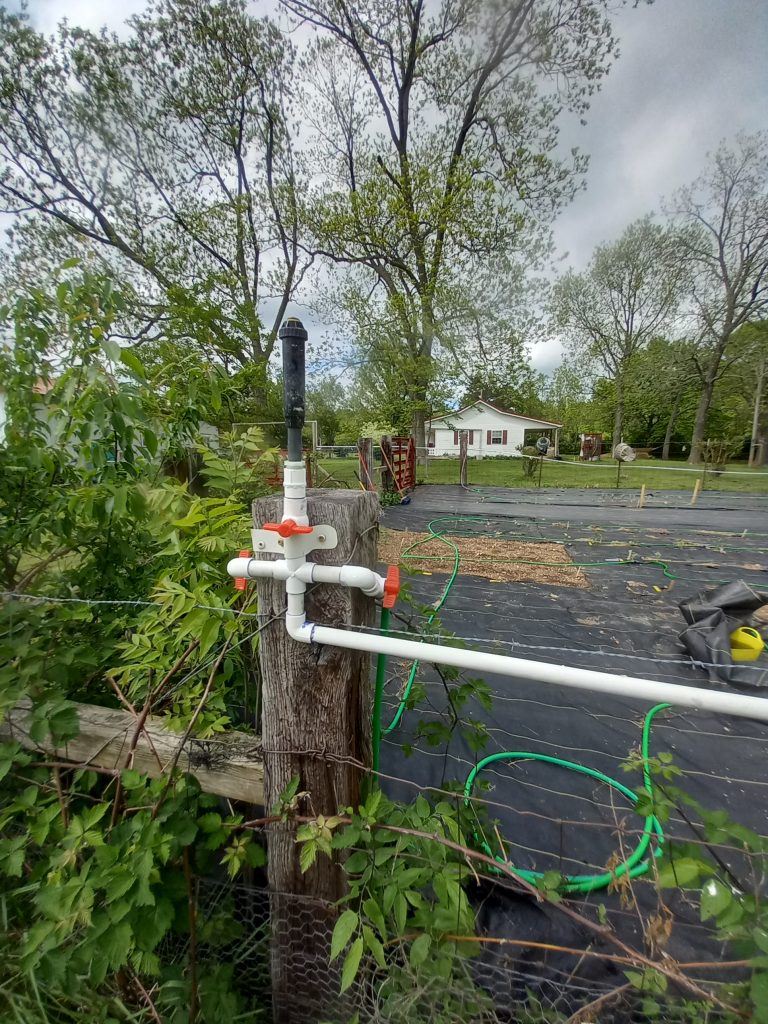
And, at the end of the line (for now) is another station in that corner.
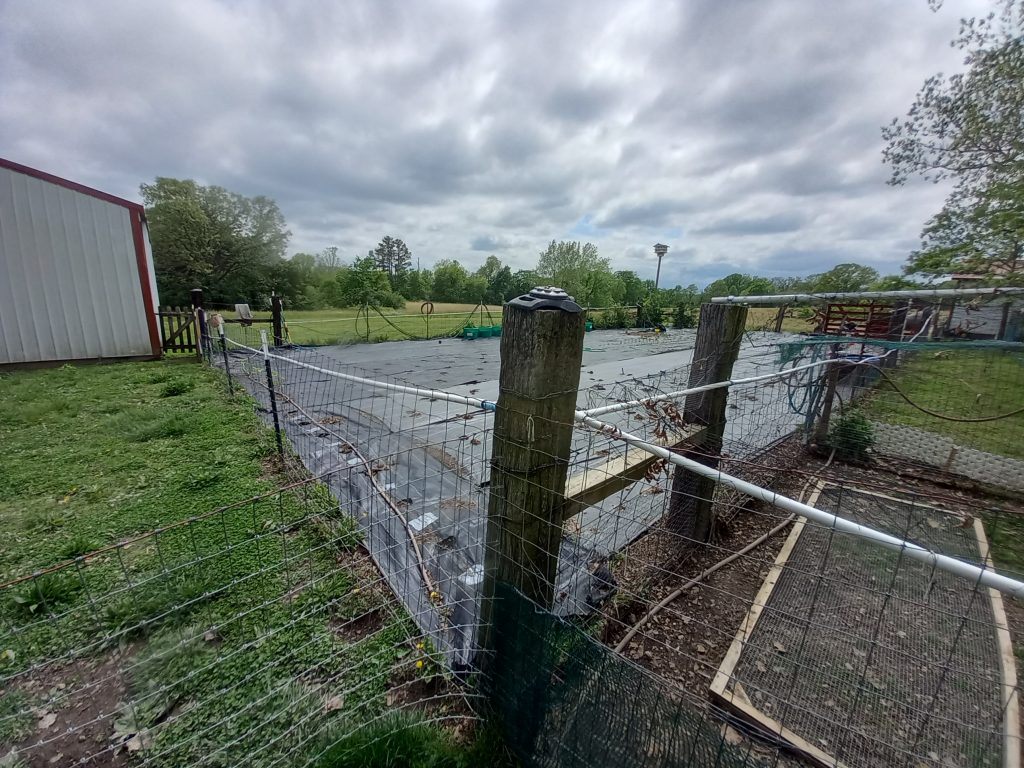
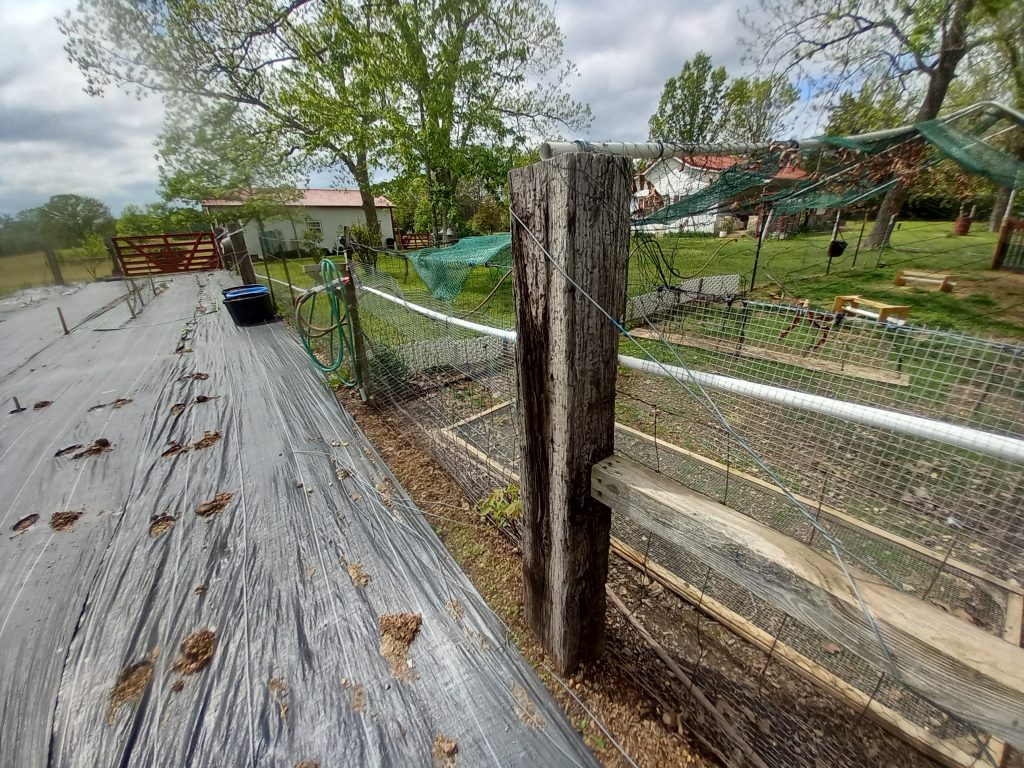
When you step back and see that entire line, you can easily see the slope that drains everything in that zone to the SE corner, where it can be drained away safely to prevent freeze damage. These sections each have their own section shut off/bypass valve so during the colder months, only the sections that are actually used need to be drained.
Returning to the split at the NE corner of the garden, we’ll now cover the north side.
This north side is a duplicate of the opposing south side. Simply 3 more stations – 2 at the corners and a 3rd in the middle.
I like the convenience of not having to enter the garden to “water the birds” so I moved the first station on this side to the edge of the chicken run and mounted the station to a makeshift piece that is banded to a T post.
The middle station.
And the final station at the NW corner. This is also the low point in this zone so it has a spigot to drain the line (or use otherwise).
But, instead of terminating, you see the line continues further to the right (because there is more to cover).
Exiting the garden, the line has to traverse another gate opening so it elevates up over the top of the posts. That elevation creates a 3rd zone going downhill now towards the garage and then turns along side it towards the front. The spigot at the garage front will be the low/drain point for this 3rd section.
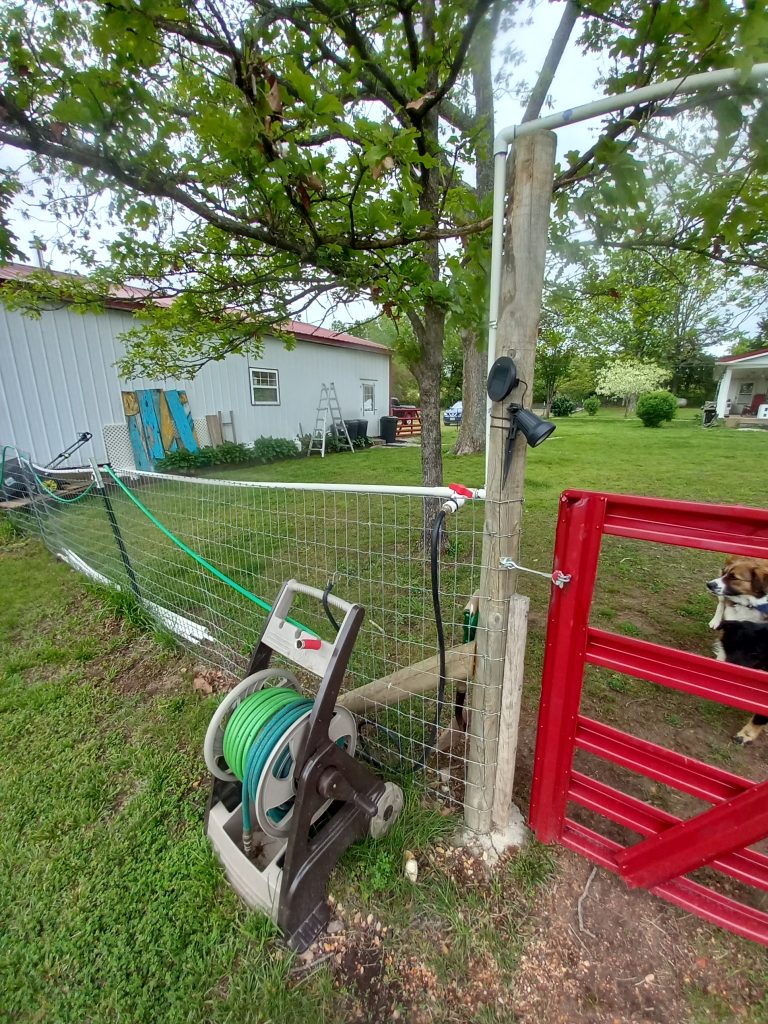
As soon as it comes down again after the gate, there is a valve for another hose reel. This is used for brush fires or other needs out towards the field.
The next stop along the line is the compost piles and worm pit so there is a spigot there before the line turns north along the garage.
And then FINALLY at the front of the garage is the final spigot for this line for washing vehicles or other garage uses.
To make a short story, long. Sheesh, what a McGyver you are! Well done