As I mentioned earlier, We are filling our pool using rainwater this year.
Rainwater collection for the pool.
I have also tied in the back of the house since this picture.
The good?
Natural (ample over time) water source.
Doesn’t tax the well and pump.
Water is naturally softened and balanced in PH/alkali content.
The bad?
Until the pool is nearly full and the pump/filtration can be activated, the untreated collected water is stagnating in the sun. In the interim, I set up a simple sump pump to run through the filter system to keep the water moving during this filling stage.
Collected water is (or quickly turns) greenish brown. Much appears to be sediment that can be brushed/swept away. Once the level reaches the filter basket and the main pump is active, a thorough vacuuming of all pool surfaces should greatly clear up the murkiness and the chemicals should do the rest.
Last year, we just set the pool up in the middle of the yard, trying to catch sunlight and avoid being under the pecan trees (for obvious reasons). It wasn’t ideal so we decided to relocate it closer to the house.
We intended to set up at the blue “X”, so that meant removing 2 huge limbs on the 2 pecan trees. There is nothing more fun than operating a chainsaw while perched high on a ladder!
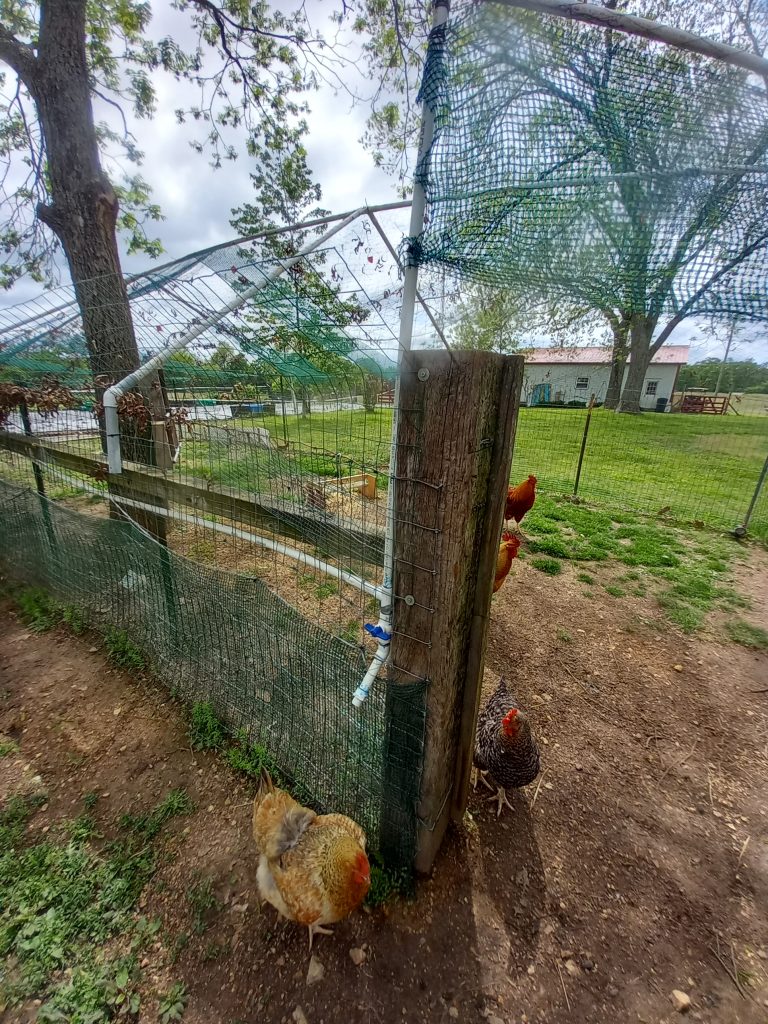
We did the first one (#2 above) a few weeks ago. It was pointing straight to where this pic was taken from – slightly overhanging the fence in the foreground. Hoping to avoid the fence, I cut the “hinge” so it could fall to the left. I had to take down the line of lights that ran from the house to the garage as well as our network cable suspended above.
I was paranoid about it kicking out the ladder I was perched high up on so I positioned the ladder opposite the limb as much as possible but made the cutting action very awkward. It safely fell but it DID also wipe out that section of fence. Oh well, it was separating from the post anyway and needed attention. Luckily, I only had to replace that 1 section next to the gate.
For the other tree (#1), this wasn’t as high so was easier to get at. From the ground, I estimated that the very tip of the falling limb might brush the lights/network cable that were reinstalled after the first limb was removed. Turns out 8″ or so DID brush the line but were very small branches and the line wasn’t damaged at all. I cut the larger sections into 4′ lengths – hoping to mill it down to be usable for building projects and the smaller sections were cut up for firewood to be used next year. I was surprised at how much wood we got out of those 2 limbs but both were 12+” diameter at the base.
Yesterday, with a rare nice day in an endless string of monsoons and storms, we got the pool set up and used the well to put in the first 8 or 9 inches of water while we smoothed out the bottom.
However, rather than taxing our well/pump, we’ll be using the storms to fill it the rest of the way, rather than turning the yard into muck.
Rainwater collection for the pool.
One of our goals is to eventually capture as much rainwater as possible – from all 4 buildings so this is the first stage of that. Rather than dropping into a bucket (or pooling up in the yard), I rerouted the front side gutter to turn the corner to continue down the side of the house. In the middle (between the bedroom windows), I put in a downspout that typically fills a rain bucket. With a simple (temporary) modification, it will now fill the pool. In a couple hours time, I could (and will eventually) tie in the back side gutters the same way. Now, I am curious to see how quickly it fills.
Once filled, we’ll strain out the larger debris (and bugs) and the pool pump, filters and Roomba type pool vacuum will take care of the rest. Once clear, I can treat the water to the right PH/chlorine balance just as we did previously.
One concern is that until it is filled, the pool is vulnerable to wind damage from storms so will be watching the forecast closely and will remove the legs (and lower the profile) by dropping the top ring down onto the rest of the pool.
We’ll experience this season as it is to be certain we like the location but the plans are (if we like it) to recess the pool halfway into the ground and then build a simple deck around part or all of it.
Finally, I had been noticing my zero turn wasn’t cutting very well so I winched it up in the shop and saw this.
That’s a new (black) blade behind an old one removed from the mower. I’d call it a bit worn, wouldn’t you?
All 3 blades were quite mangled and is why I noticed uncut lines in the mowing path as they no longer overlapped as they should.
Now, I need to refrain from using the zero-turn for the rough stuff and save that work for my “NASCAR” tractor. That’s my old Craftsman with a broken front axel that only turns left. I bought a welder to fix it but first I need to learn how to weld.
Sadly, we recently lost Ruthie unexpectedly. It was in the morning after being let out of the coop to the run. Soon after she was down on the ground but remained upright moving her head and the 2 roos kept “hitting on her”. I’d nudge them off but then we noticed something wasn’t right with Ruthie and she wasn’t trying to flee their advances as the hens usually do. Sherry picked her up and she was visibly in distress by this time and vomiting. She died within minutes. We are suspecting a heart attack but have no way to know for sure. We’ve kept close watch on the others and the rest all seem fine.
Luckily, she was able to have a Viking funeral. Maybe not a real boat but I had a huge brush pile built up with all of the tree work I had been doing and planned to burn it off now that everything has greened up. I added some good sized logs to arrange around her (in the shape of a boat) and set it off. It burned hot and heavy for a good hour and by the time it was all done in the evening, it was simply a small pile of ashes out in our field. I know I should have “processed” her but just didn’t have the bandwidth at the time. She would have been a tasty treat for the dogs and cats (or me) though.
It’s too bad. She was certainly our prettiest hen and a consistent egg producer.
WooHoo! We finally have (most) everything in the ground (or pots or bins). There is still space for a few dozen more plants. We’ll either use that for something we haven’t tried yet or use it for 2nd crops later in the summer.
Here’s is what we are anticipating:
On the front porch (in pots and bins):
Oregano
Thyme
Rosemary
Echinacia
Basil
Peppermint
Dill
Nasturtium
Garlic
In the garden:
Sweet Corn
(Sunset Runner) Beans
Kale
Broccoli
Snow Peas
Snap Peas
Carrots
Cucumbers (several varieties)
Radishes
Peppers (several varieties)
Beets
Jalapenos
Onions (green, white and yellow)
Cabbage (several varieties)
Sage
Lettuce (several varieties)
Arugula
Cilantro
Romaine
Cauliflower
Celery
Calendula
Lemon Balm
Tomatoes (several varieties in 10 bins)
Watermelon
Pumpkins (2 varieties)
Cantalope
Black Oil Sunflowers
Last year, we were tentative – not knowing what would be successful and what wouldn’t so we only planted about a 1/3rd of the available space. This year, with last years surprising success, we mostly filled it out but are still not sure if it will all thrive. Like everything here, we are learning as we go.
Now, we need to develop our “canning” skills. Hopefully, we’ll be extremely busy come this fall.
I’ve been asked about how we keep everything watered. It’s not as easy as it sounds with everything spread out and only a single water source available but I’ve been working/adjusting/tweaking this for over a year now and is getting just about ideal for us now.
As Sherry knows, I am pretty anal when it comes to this and am not a fan of constantly hooking/unhooking/untangling hoses and dragging them around. Added to that is the absolutely terrible quality of most products sold for this purpose. I’ve rarely ever had a nozzle, sprinkler, hose or any other component of these last more than 2 years so my goal was to eliminate their incompetence by doing as much on my own as possible.
Everything (in pots/tubs) on the porch is watered by hand using rainwater collected in tubs below the downspouts so no big deal but for everything else, we needed closer sources to get the water.
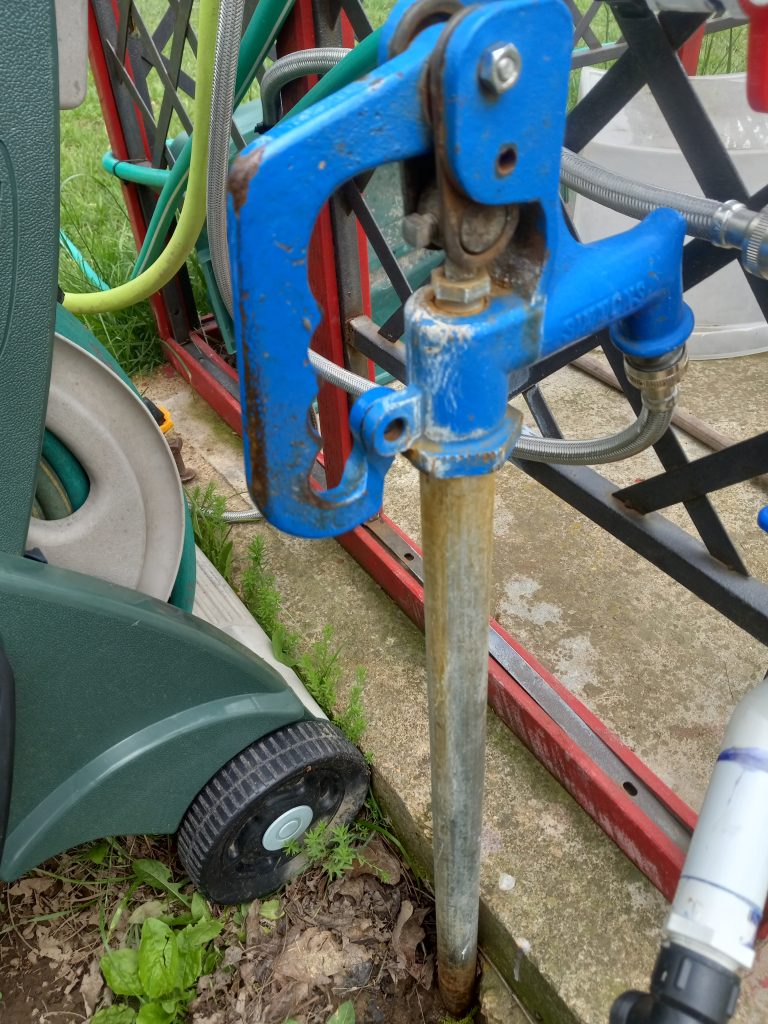
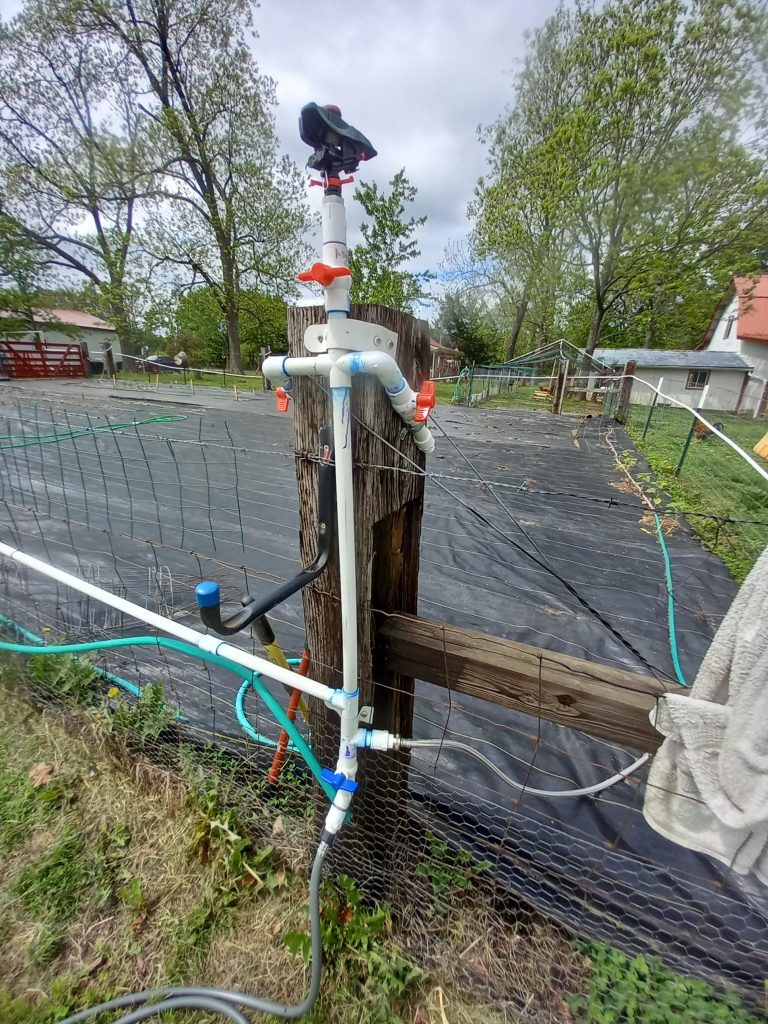
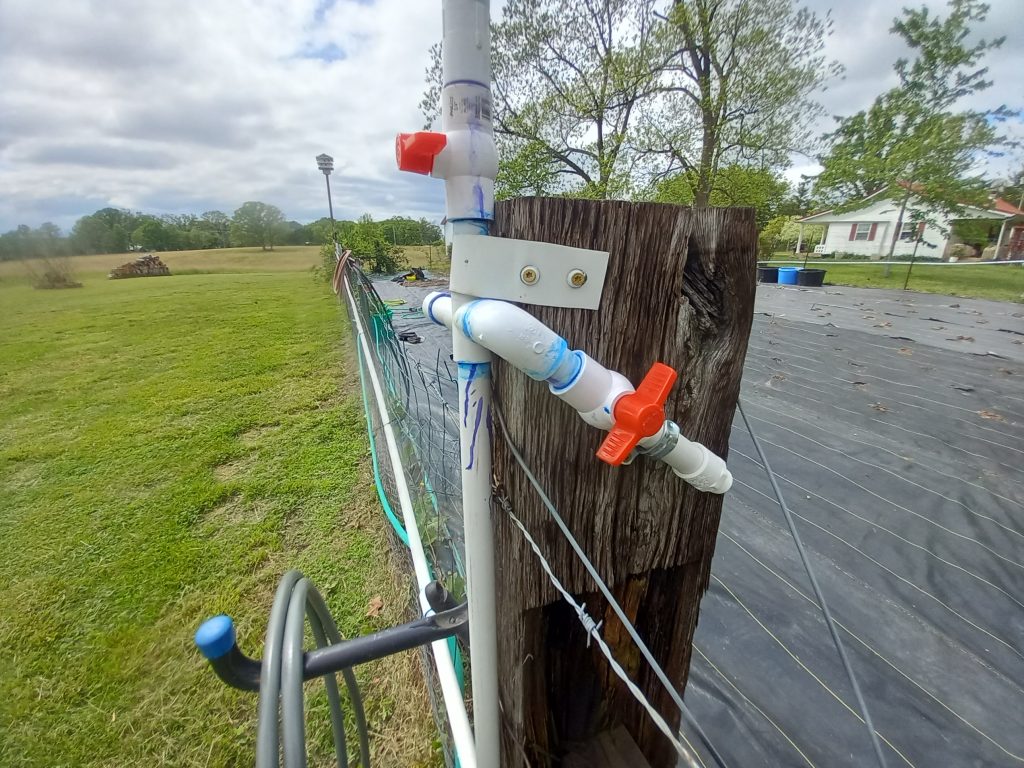
The problem is, THIS is our only source for water outside of the house. This freeze-proof spigot is located by the old well head just off the back porch.
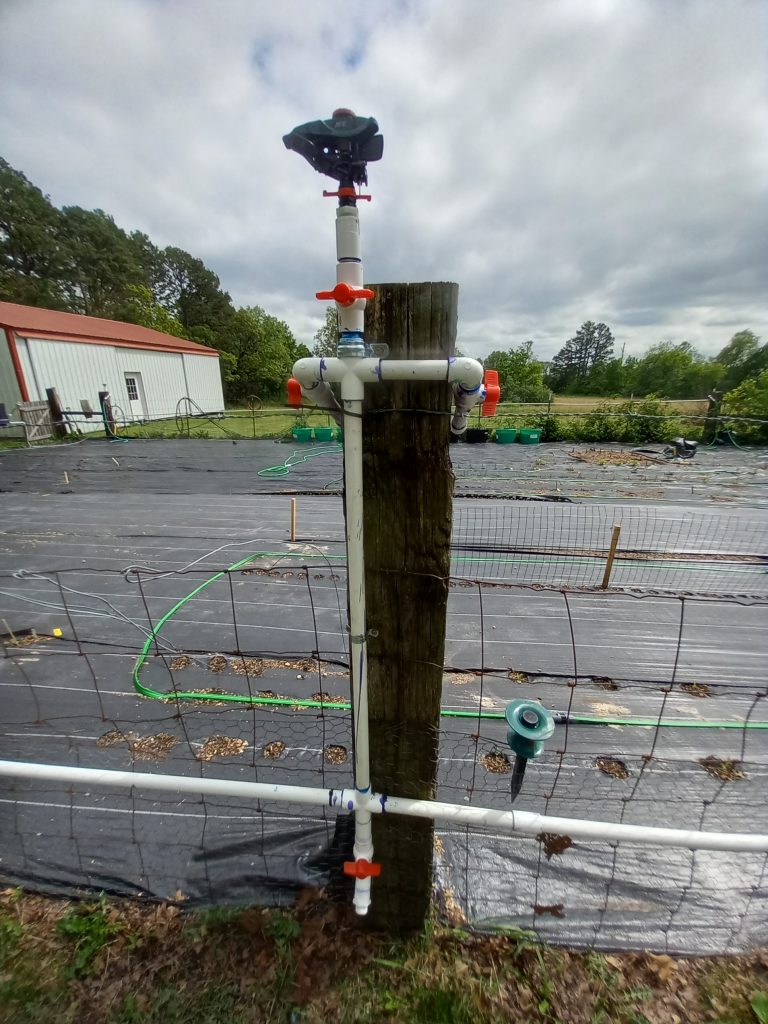
So, immediately I split this single hook up to 5 new ones using PVC valves and 3/4″ piping.
The blue valve at the bottom is used for filling buckets but doubles as a “drain” of that valve system when the water is shut off. Moving up from that valve, the next connection on the left is where the water comes from the source and enters the system. Up from there is a hose running to the outdoor shower (that this is mounted to). The next one up (turned on) is the hose that feeds the line that covers the garden as well as other locations. Up from there is the hose reel (pictured) and the top valve controls a simple 10′ hose and nozzle that hangs on the shower for general use.
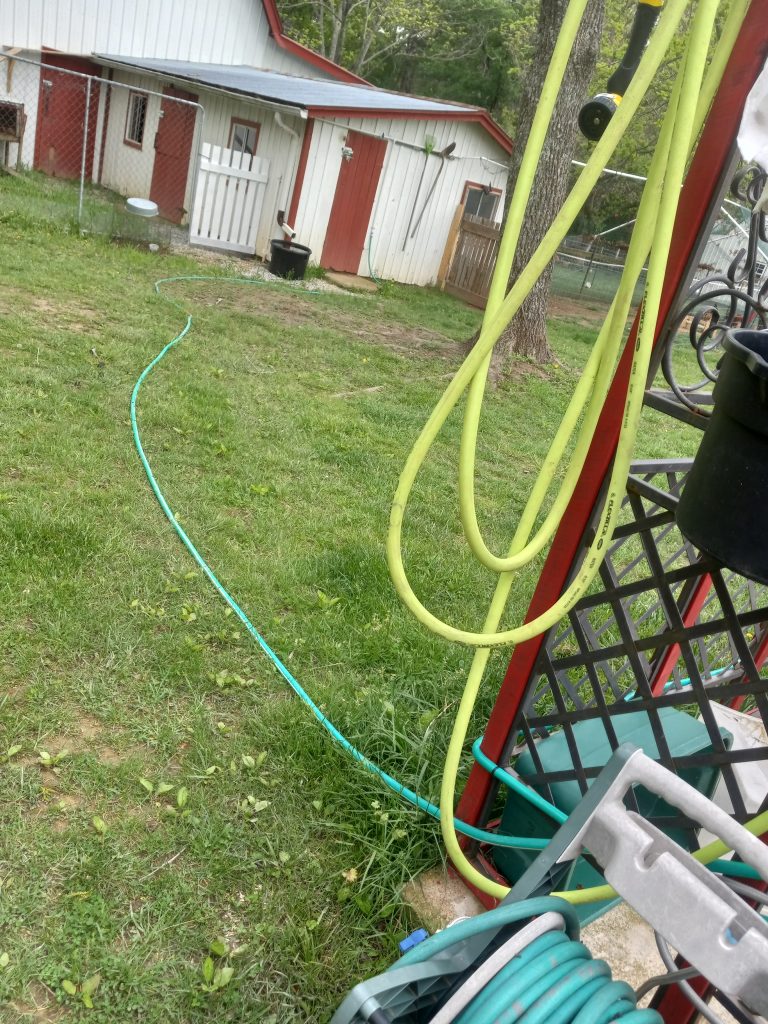
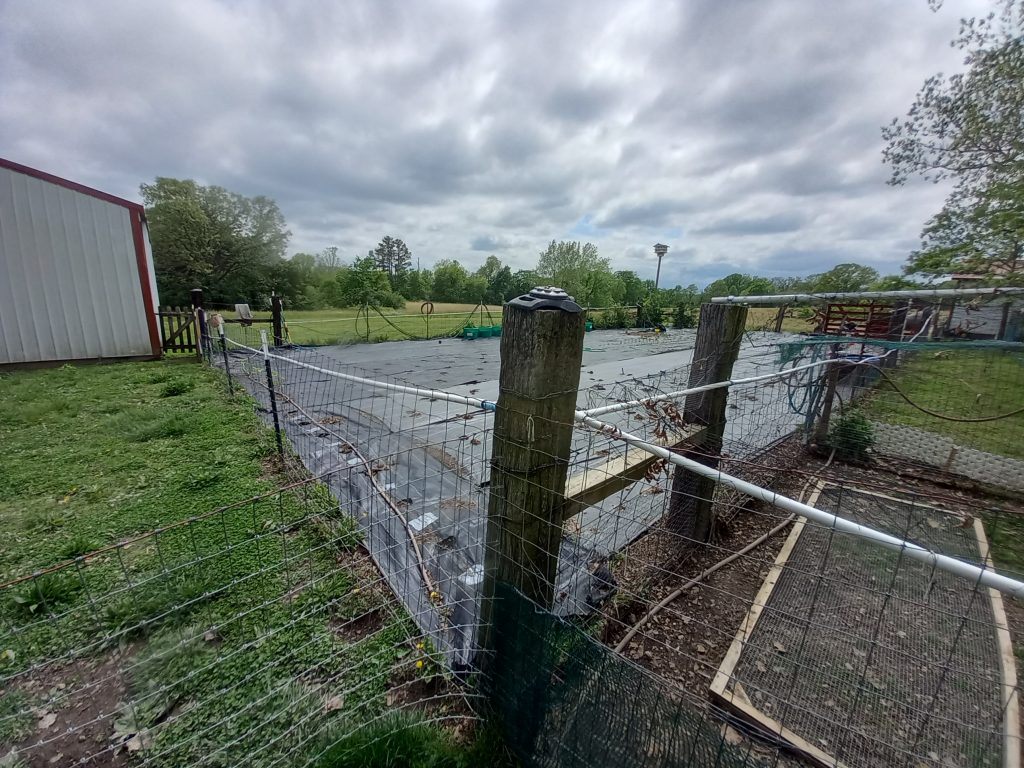
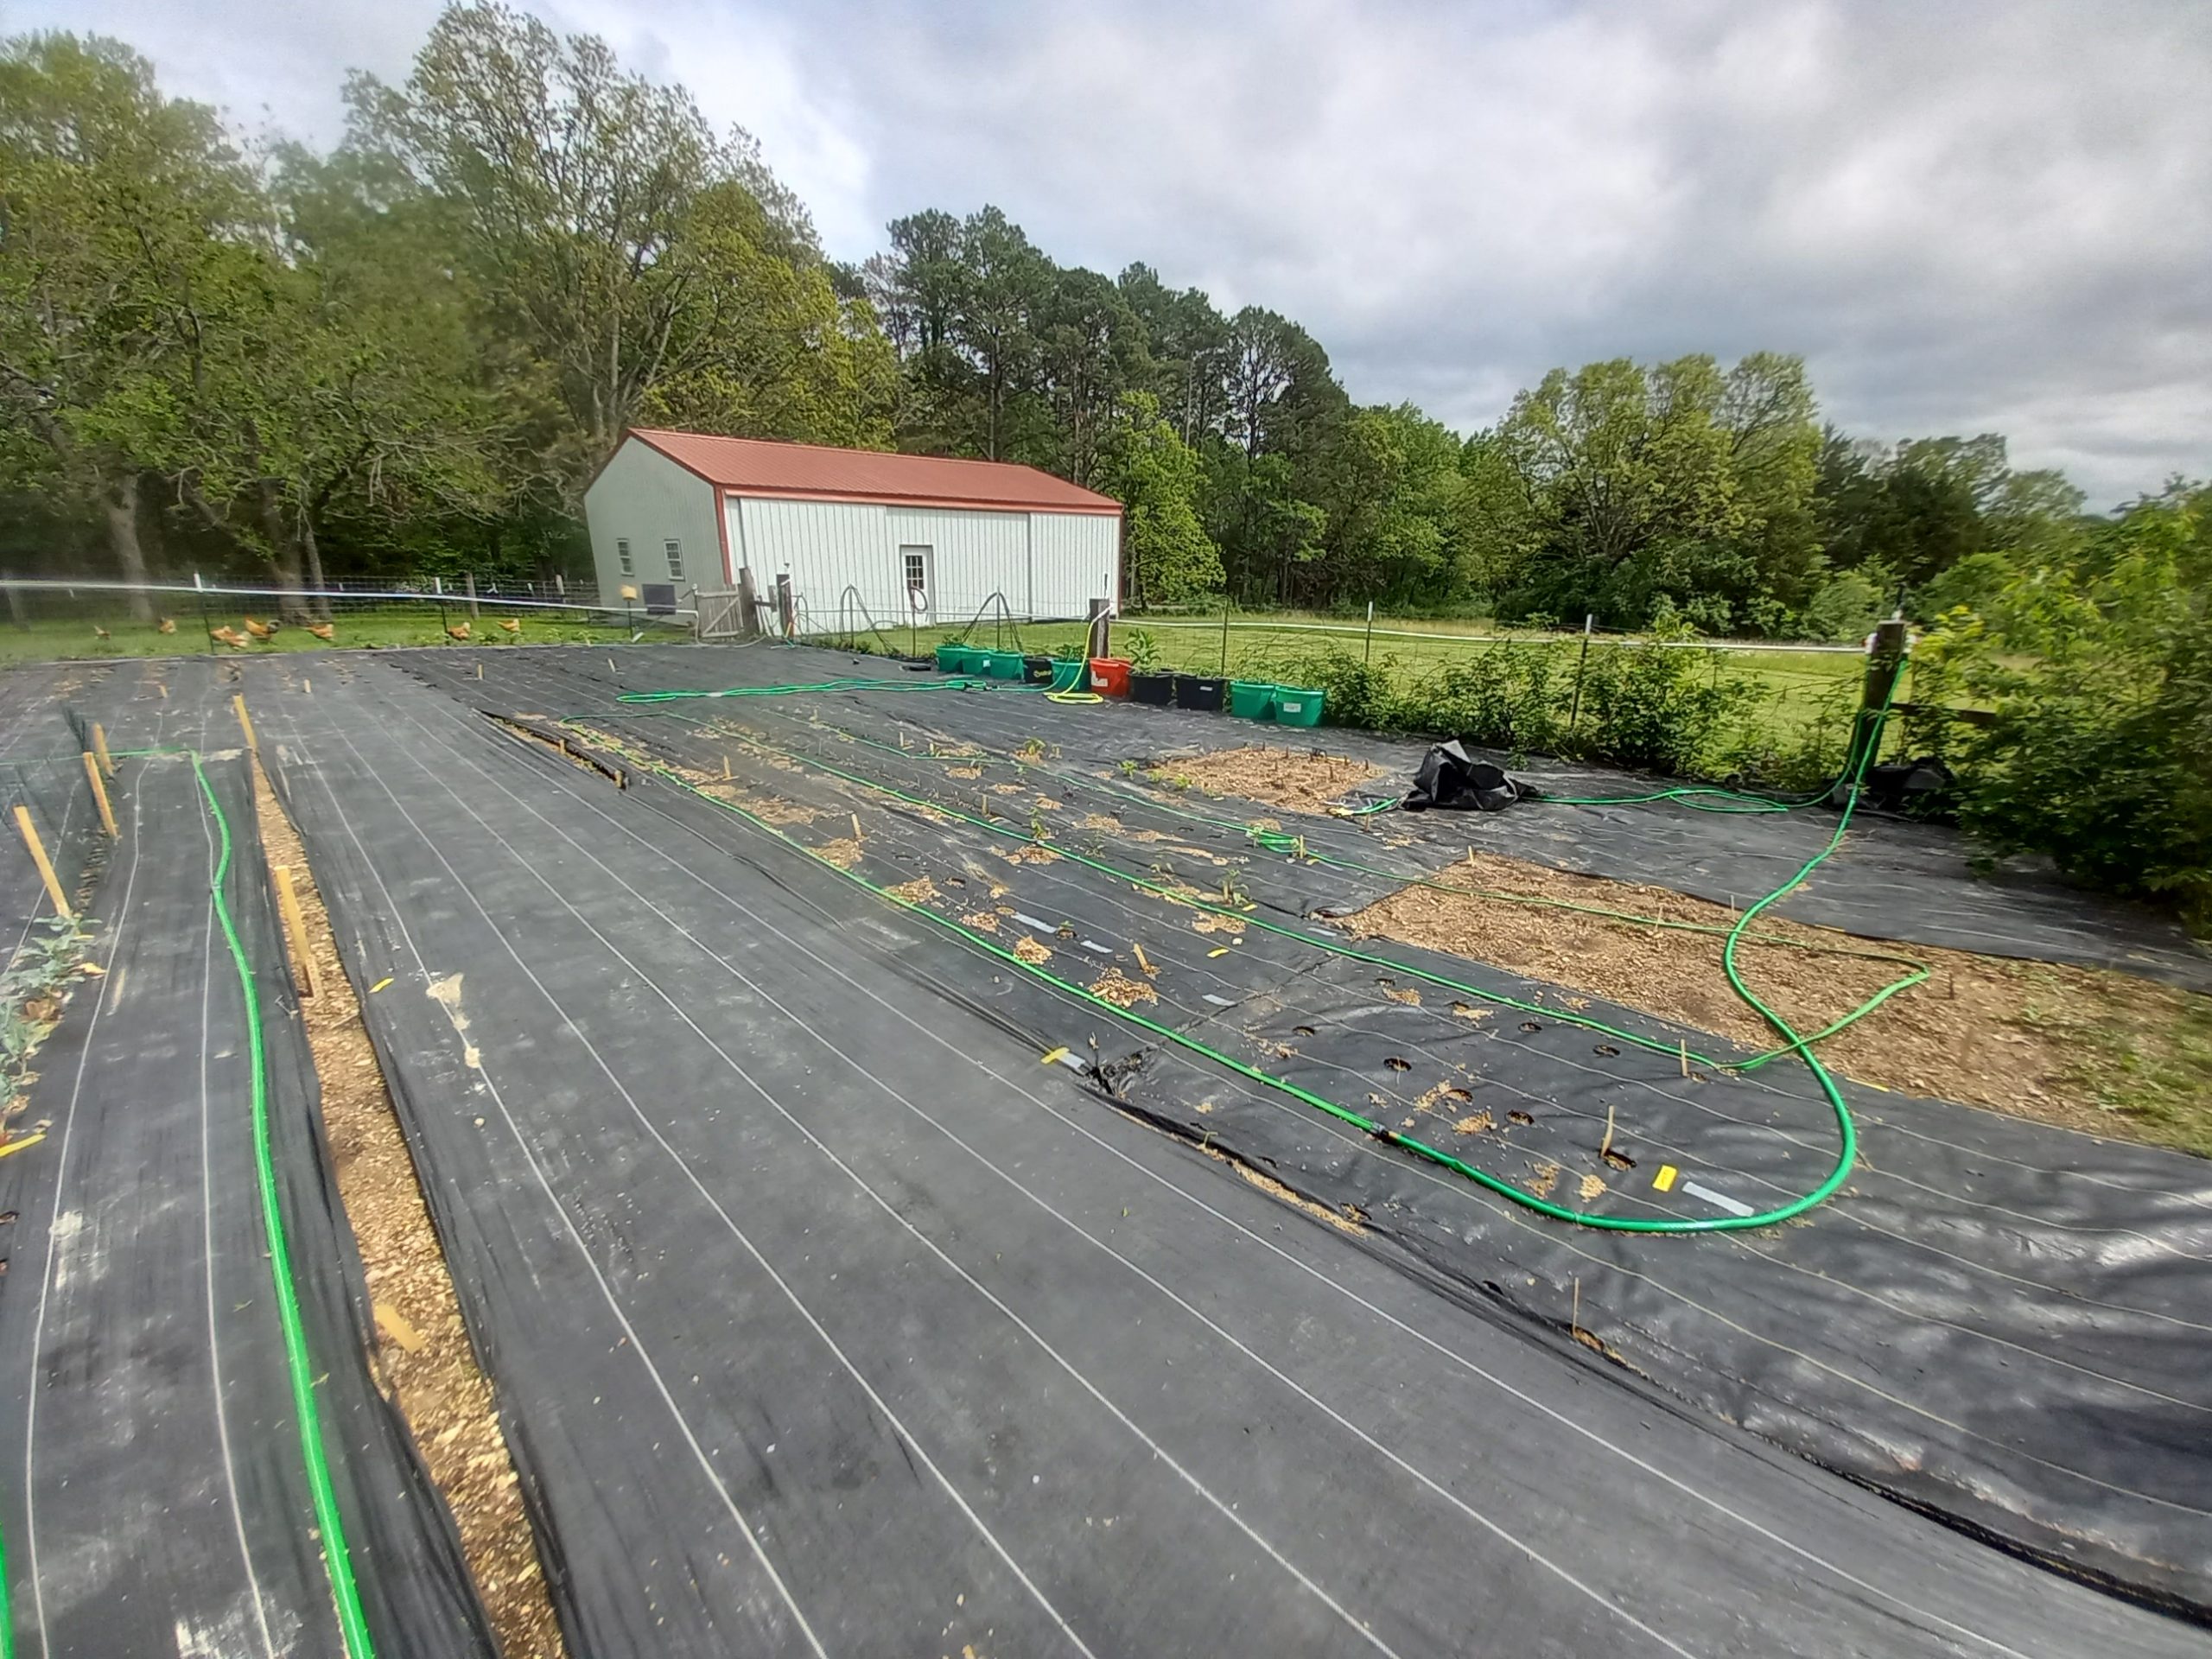
The line that covers the garden and other places runs on the ground over to the front of the chicken coop. As of now, it is a simple garden hose but will eventually be “piped” when I complete a mud free walkway back there.
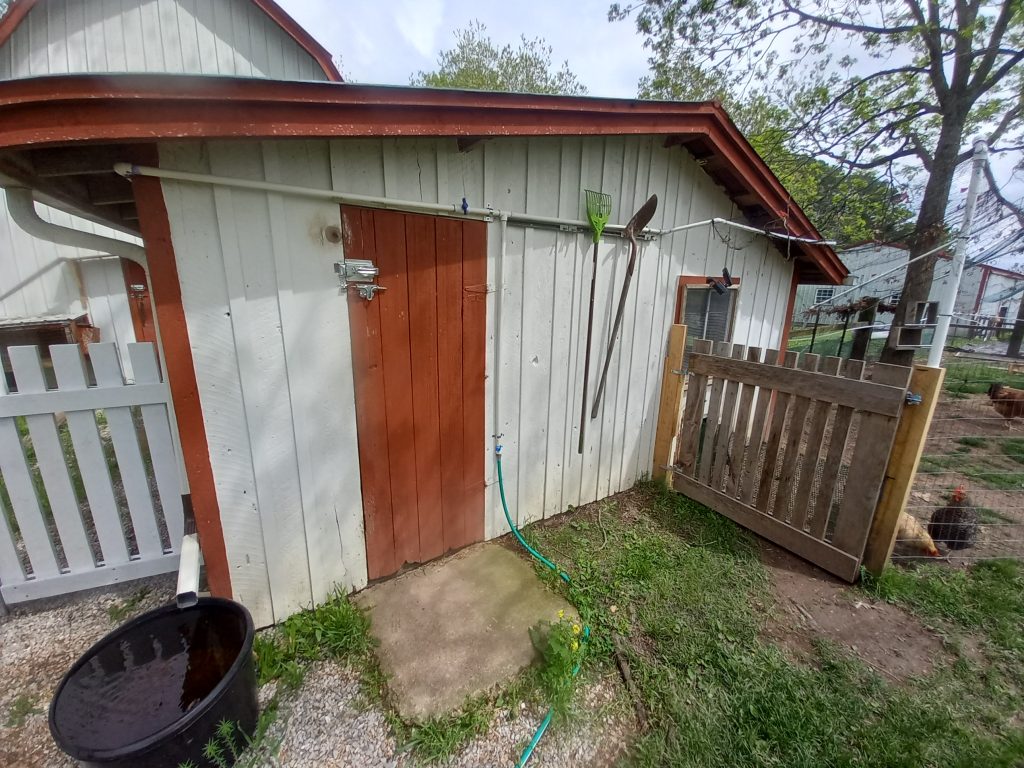
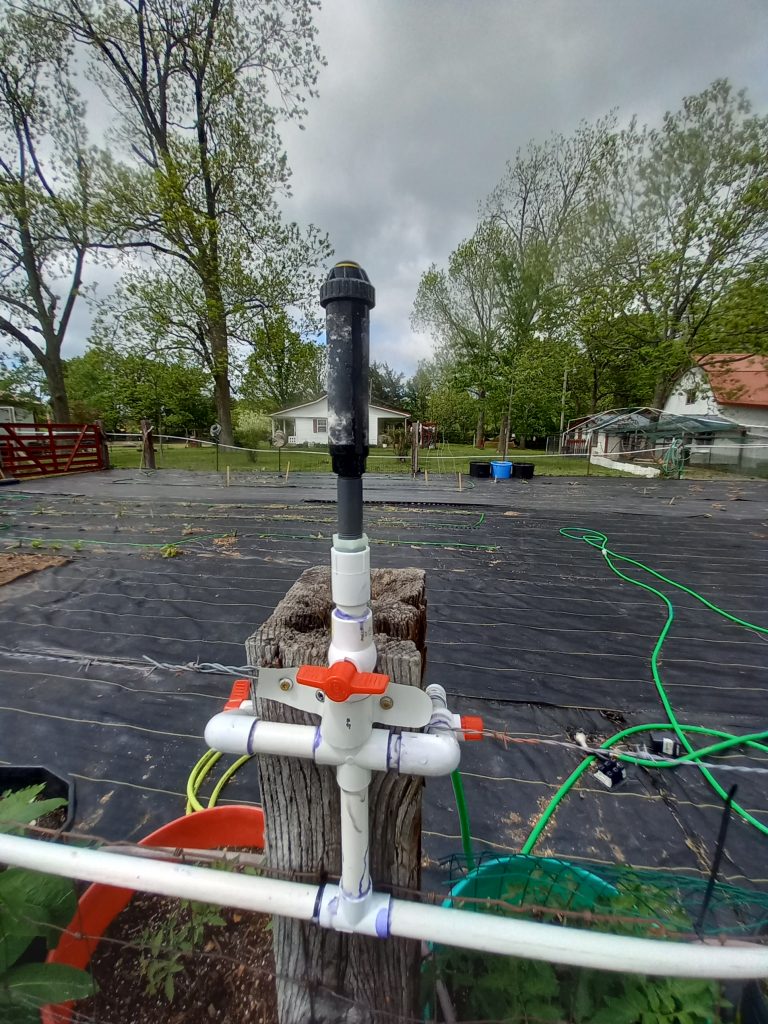
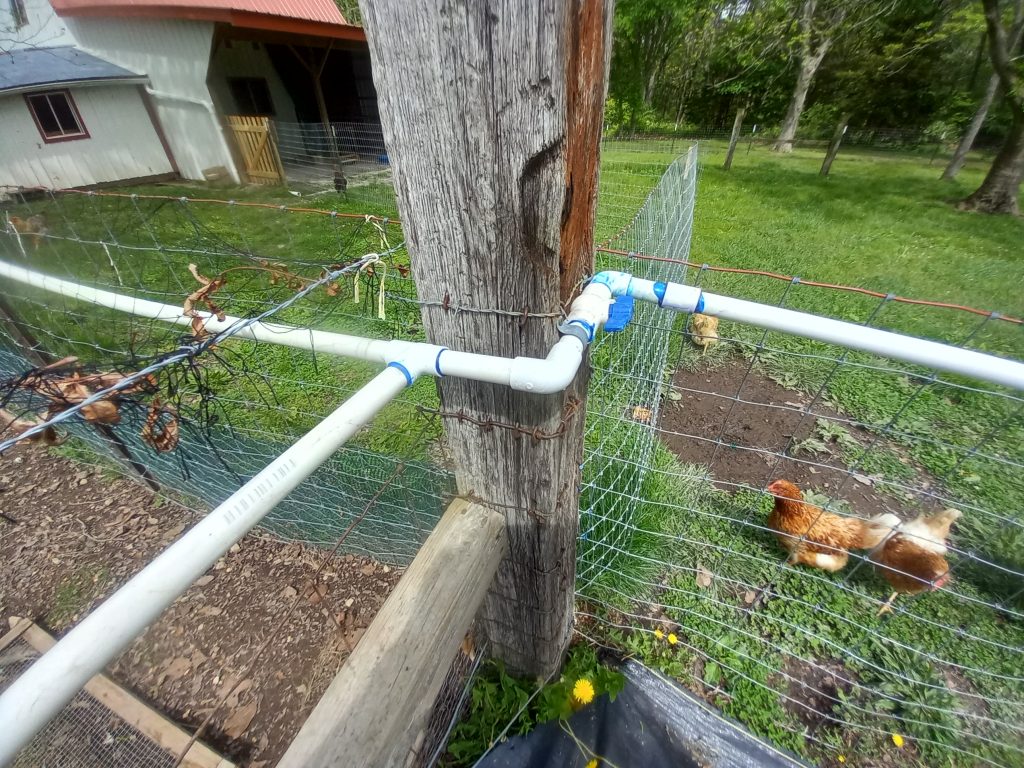
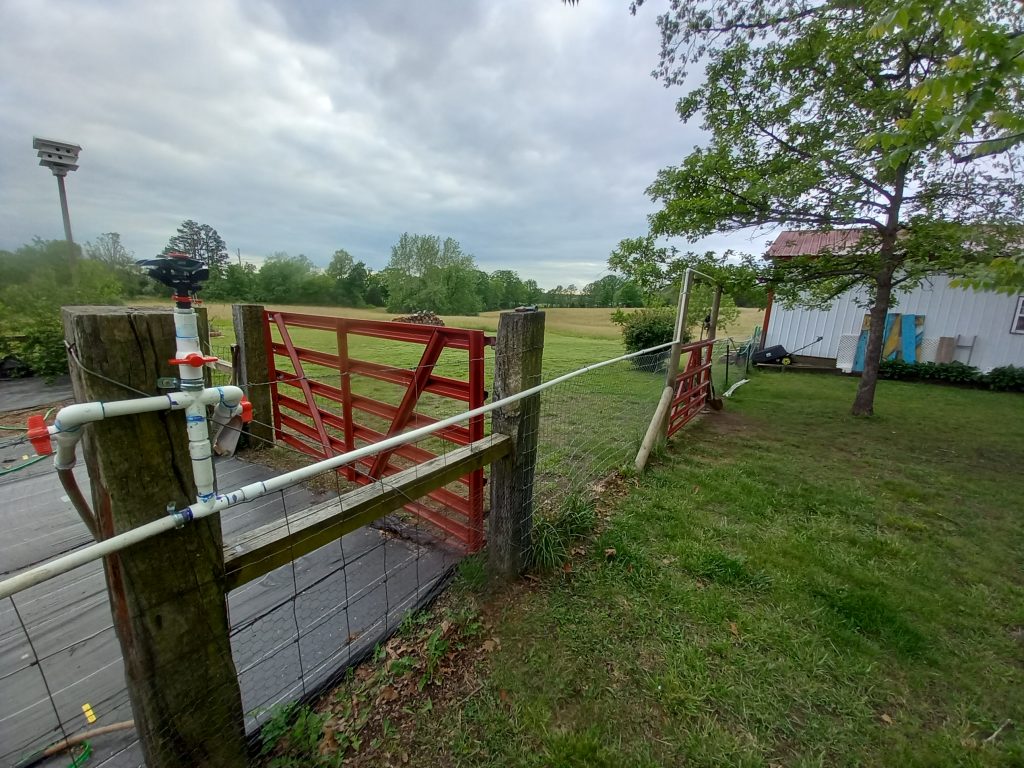
Once there, it screws into a PVC fitting and traverses up to the top of the door where a “T” connection sends a line to the left for inside the barn, as well as another that runs to our camper stored under the lean to. The other line (to the right) continues towards the garden.
The line is up so high because of the gate between the chicken runs. I’m not crazy about this arrangement and may move it to the ground but I’ll wait for it to break and force me to. Actually, this section between the runs will all be redone but works ok for this season.
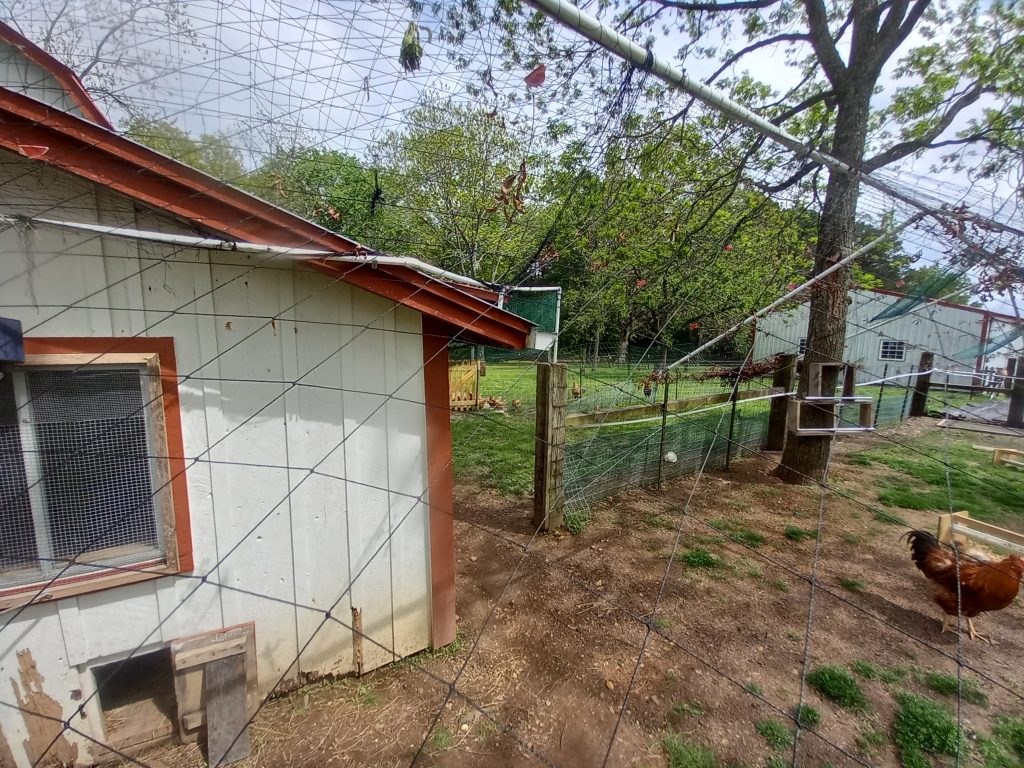
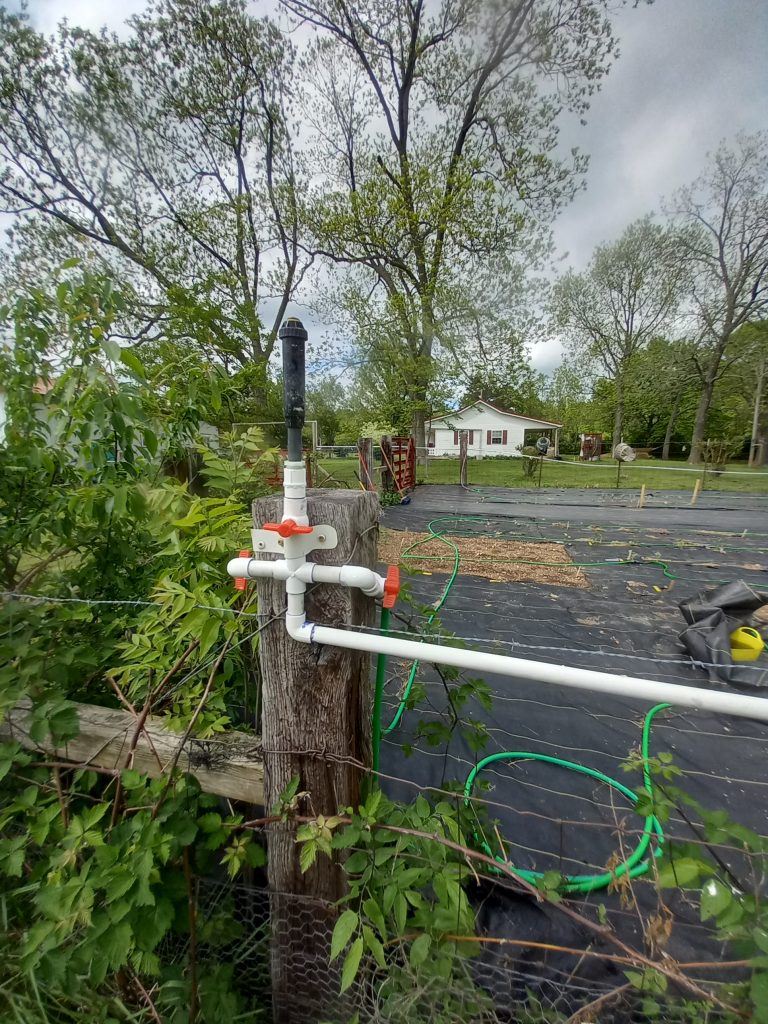
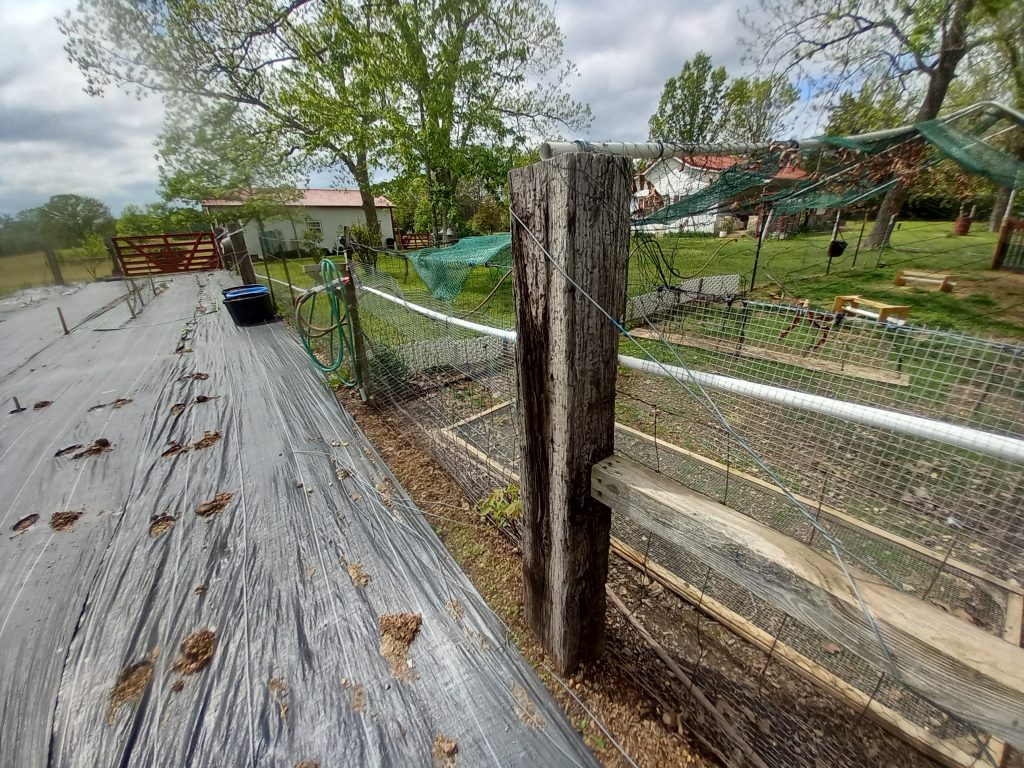
On that first post by the gate is the first faucet available. This spigot previously drained the whole system but I had to change that behavior when I added the additional footage circling the garden as it is just too much distance overall to get the slope exactly right for that distance.
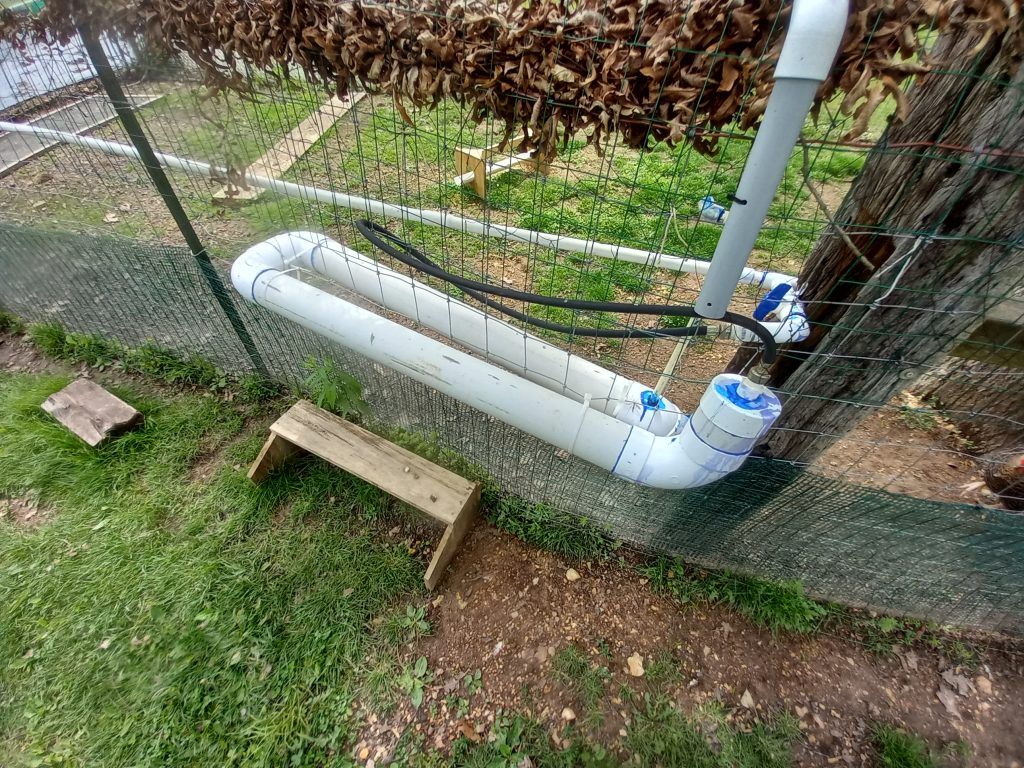
The next post down the run also has a spigot, which is connected to the birds 2-sided waterer. It takes about 15 seconds to refill by turning the valve. The older girls get their water via nipples on the bottom of the larger PVC section. The newer girls on this side are smaller so I built them a bench to reach the nipples.
Finally reaching the NE corner of the garden. Here is another “T” with one side continuing straight south towards the shop and then turning along the south side and the other turning westward along the north side of the garden.
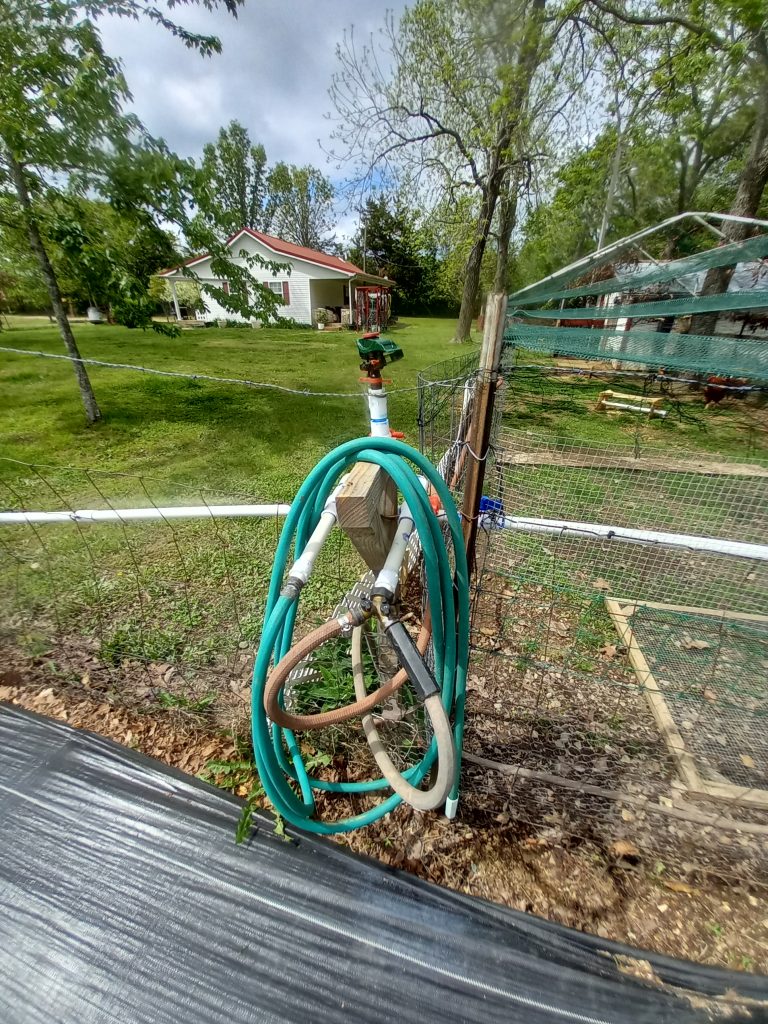
At the shop, there is another access gate so I dropped the line to the ground and used “water supply” hoses (typically used to hook up your washing machine or dishwasher) to hook up the south side line. There is an extra splitter valve there on the ground that will drain this “bridging” line when needed. The green hose going left is watering the sunflowers at the back of the garden.
And here (going west on the south side) is the first of 6 “stations” surrounding the garden. The blue valve at the bottom drains the PVC (for freezes) but has a simple 10′ hose and nozzle for general use at the shop (where we do all of the seeding and planting preparations).
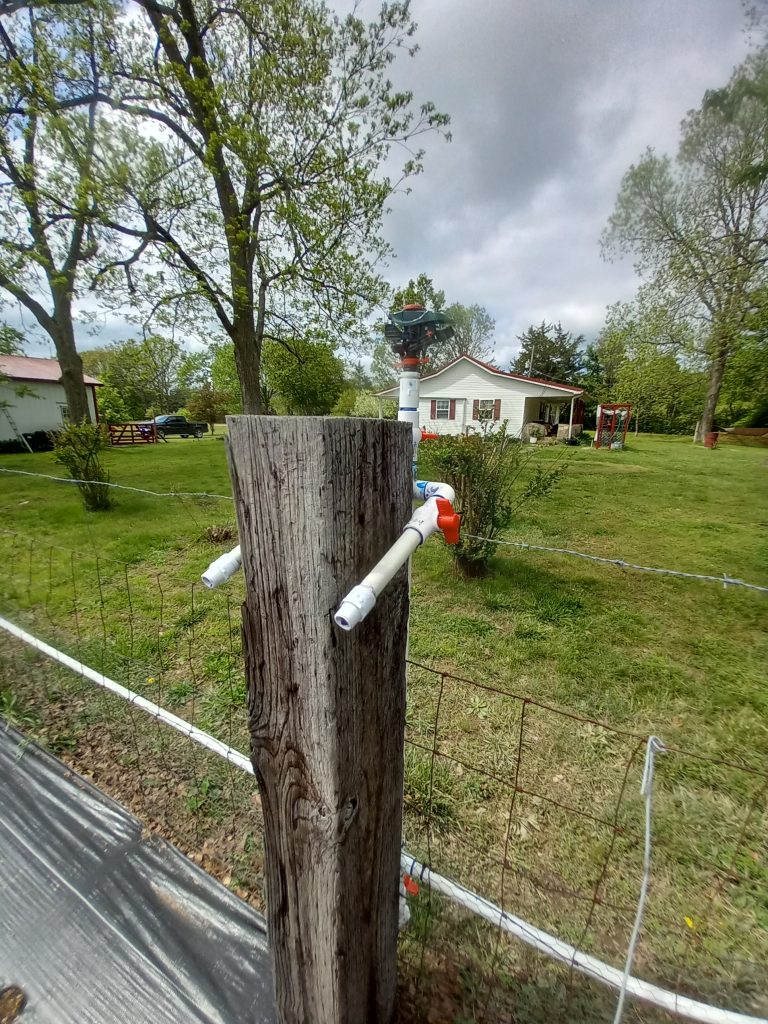
Each of the 6 stations in the garden contains a single sprinkler head that covers that section as well as 2 additional spigots for hoses and drip lines. I might have screwed this up by slanting these downward because a little water could still be trapped above the valves after the lines are drained. I may revise next year.
Moving westward, this is the station at the middle of the garden.
And, at the end of the line (for now) is another station in that corner.
When you step back and see that entire line, you can easily see the slope that drains everything in that zone to the SE corner, where it can be drained away safely to prevent freeze damage. These sections each have their own section shut off/bypass valve so during the colder months, only the sections that are actually used need to be drained.
Returning to the split at the NE corner of the garden, we’ll now cover the north side.
This north side is a duplicate of the opposing south side. Simply 3 more stations – 2 at the corners and a 3rd in the middle.
I like the convenience of not having to enter the garden to “water the birds” so I moved the first station on this side to the edge of the chicken run and mounted the station to a makeshift piece that is banded to a T post.
The middle station.
And the final station at the NW corner. This is also the low point in this zone so it has a spigot to drain the line (or use otherwise).
But, instead of terminating, you see the line continues further to the right (because there is more to cover).
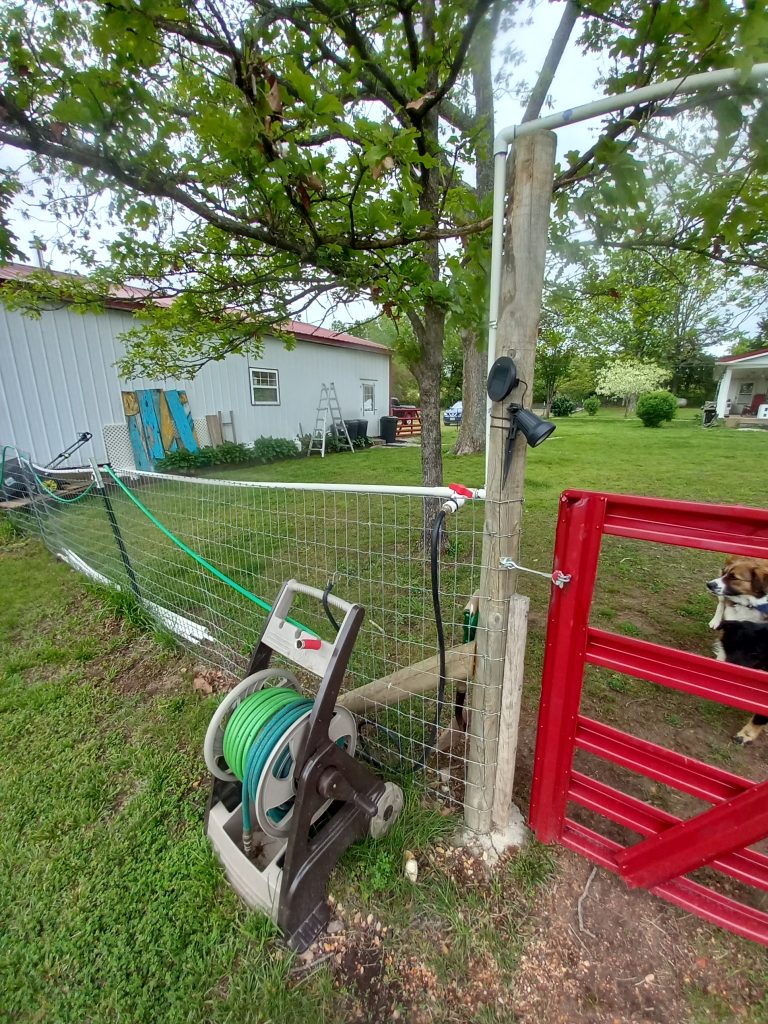
Exiting the garden, the line has to traverse another gate opening so it elevates up over the top of the posts. That elevation creates a 3rd zone going downhill now towards the garage and then turns along side it towards the front. The spigot at the garage front will be the low/drain point for this 3rd section.
As soon as it comes down again after the gate, there is a valve for another hose reel. This is used for brush fires or other needs out towards the field.
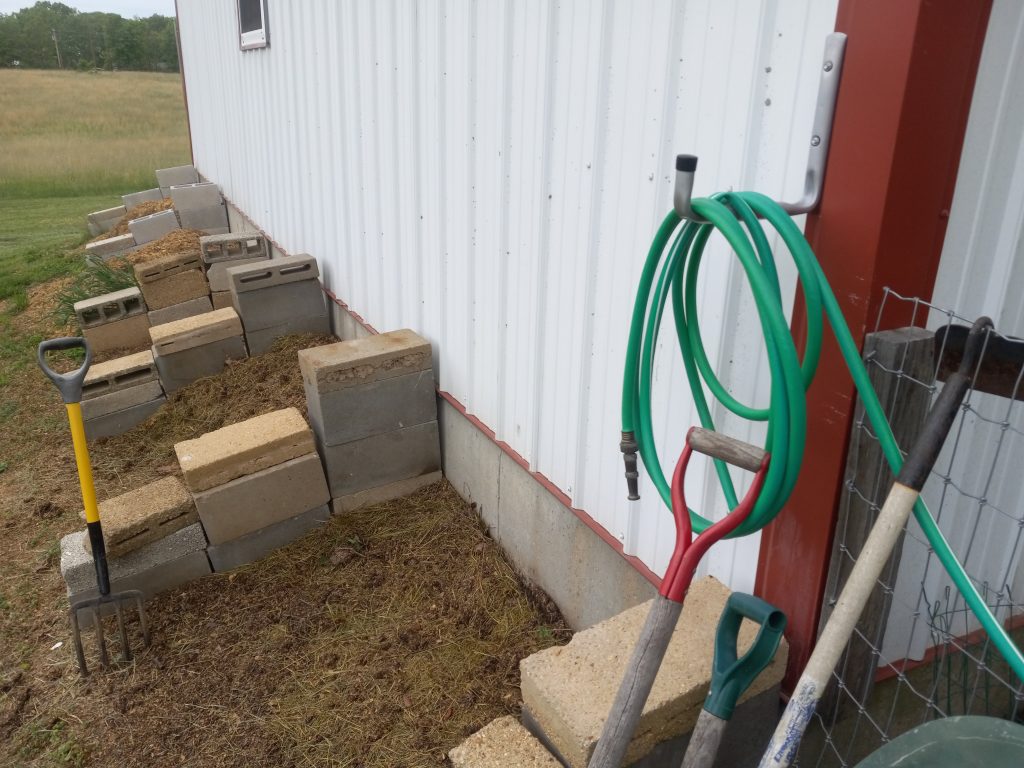
The next stop along the line is the compost piles and worm pit so there is a spigot there before the line turns north along the garage.
And then FINALLY at the front of the garage is the final spigot for this line for washing vehicles or other garage uses.
I am seeing more and more of these stories lately. Human knowledge is under attack! Governments and powerful corporations are… Read more: Gov’t Overreach!
UPDATE 3/21 (#4)UPDATE 3/14 (#3)UPDATE 3/12 (#2) I knew it would happen eventually. Actually, we’ve been pretty lucky so far… Read more: STILL Playing Possum
Repeating this from Facebook. I really need to escape that cesspool. Anxiously awaiting the return of my lovely bride this… Read more: Ain’t No Sunshine
I have to admit, as far as mother-in-laws go, I got pretty lucky. I had to remind myself that we… Read more: Goodbye Marlene
Headlines below from Real Clear Politics, a news site with policy headlines from all perspectives presented side by side. An ideal site to illustrate the blatant malfeasance rampant in the MSM today. However, that depends on your ability to discern and seek more information and then recall what they've stated in the past to determine their credibility.


To make a short story, long. Sheesh, what a McGyver you are! Well done